

tutorials
You will need white paper and natural light preferably near a window. :)
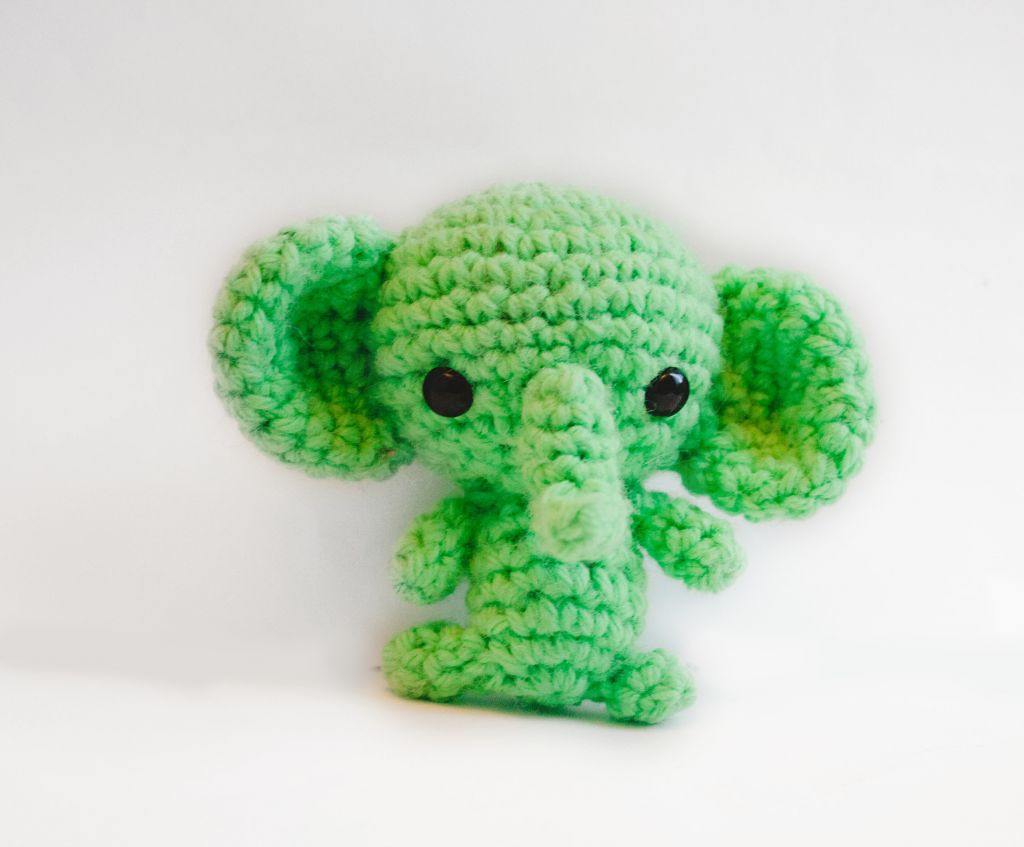
I placed paper down on my bed and stacked a couple of sheets against the wall then put the amigurumi in place. I took these photos around noon when the sun hits my window. I am using a 50mm lens at low f-stop and low ISO since it was bright. Bump up the ISO depending on your lighting condition.
If you have a continuous mode, use it!
Settings: f/2, 1/80, ISO 100
Editing

1) Crop out any distracting edges. If you have any lines you can select the brush tool & hold down CTRL to sample a color to paint over. That doesn't need to be perfect since we'll be brightening up the background next.

2) Merge down. Duplicate your layer. Go to Image> Adjustments> Brightness/Contrast and bump up the Brightness 50+. There we go! If your amigurumi is too bright, select a layer mask and use a black brush to paint it back.

3) If you feel that your amigurumi is too dark now, you can select a white brush and adjust the brush opacity settings to around 50%. Paint over your amigurumi to brighten it up.
OPTIONAL: Sharpening your image.

1) Go to Filter> Sharpen> Unsharp Mask and find the settings to fit your image.

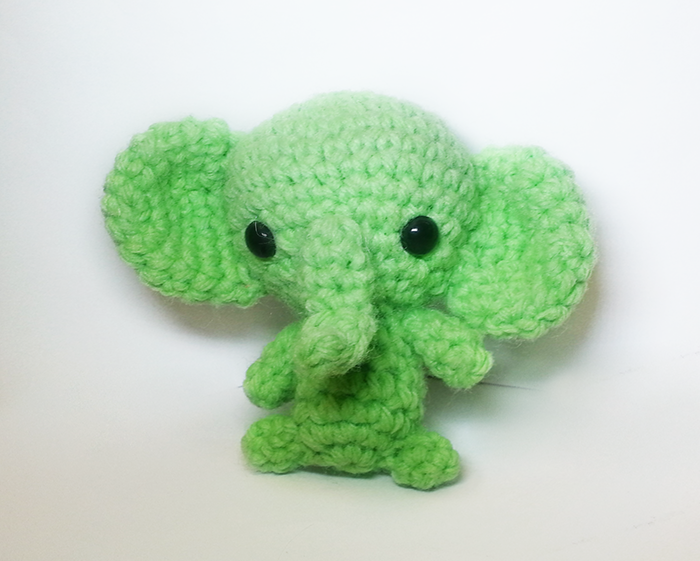
Now it's complete! I save the high resolutions then afterwards resize at 700px as png's for posting on the web.
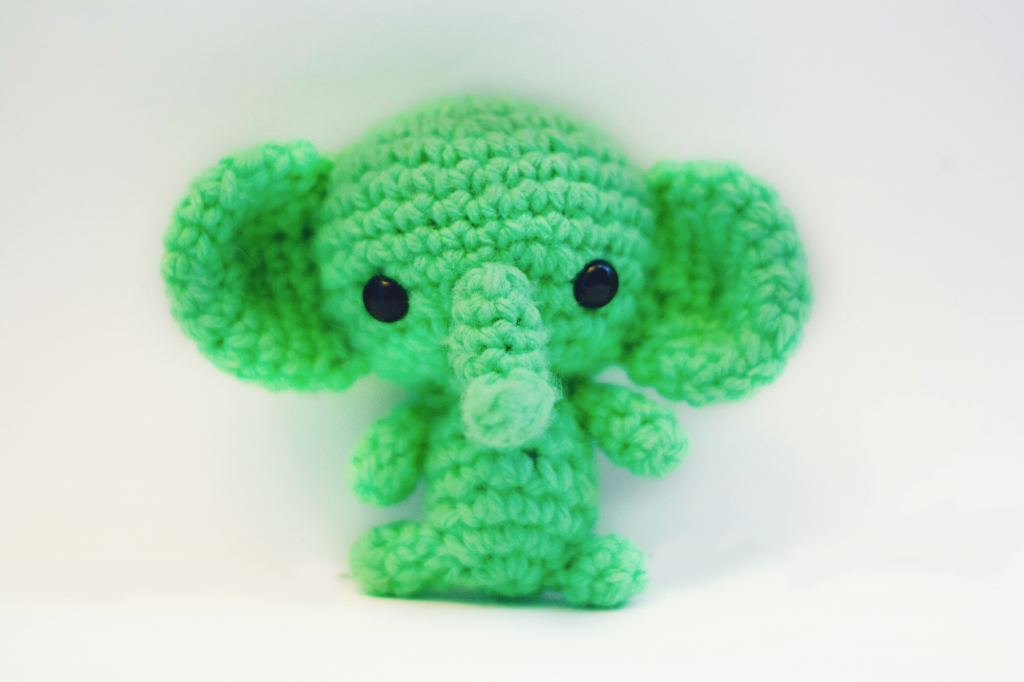
Before & After Comparison:

How to remove those random fuzzies or hair for close-ups:
1) Duplicate your layer. Select the healing brush tool at a small size. Select a nearby area by holding down CTRL and clicking.
2) Paint over it! Usually, this works. Sometimes you'll need to use the clone stamp tool.


That's it!
You don't need a super expensive camera to do this. ♥ Just white space and good lighting.
Settings: f/5, 1/40, ISO 400
Settings: f/1.8, 1/200, ISO 400

Settings: f/2.6, 1/68, ISO 80
Happy Wednesday
5.04.2012
Puff Stitch Video

I received a couple of questions about the stitches in the puff stitch hat. The video is for the puff stitch itself and the photo tutorial is for a decrease puff stitch.
DECREASE PUFF STITCH
The first puff stitch round is easy until you are greeted with holes (spaces) in the next round.

Focus on the loop on top of each puff stitch. There's where you put your puff stitches and increase (two puffs in one!)

If you are having difficulties crocheting through a tight stitch, go into that space instead! (even I cheated)

Yarn over and insert the hook into the front loop of a puff stitch.


Yarn over and pull through the remaining loops.

Puff stitch:
Yarn over, insert hook into the stitch, yarn over and pull thru 3 loops
*Yarn over, insert back into the stitch, yarn over and pull thru loops.*
(*repeat 3 more times)
Dec puff:
Yarn over, insert hook into front loop of the puff st then insert hook into the next st's front loop, yarn over and pull 3 loops thru.
Yarn over, pull 2 loops thru.
Hope this helps!
DECREASE PUFF STITCH
The first puff stitch round is easy until you are greeted with holes (spaces) in the next round.
Focus on the loop on top of each puff stitch. There's where you put your puff stitches and increase (two puffs in one!)
If you are having difficulties crocheting through a tight stitch, go into that space instead! (even I cheated)
Yarn over and insert the hook into the front loop of a puff stitch.
Yarn over and pull through the remaining loops.
Puff stitch:
Yarn over, insert hook into the stitch, yarn over and pull thru 3 loops
*Yarn over, insert back into the stitch, yarn over and pull thru loops.*
(*repeat 3 more times)
Dec puff:
Yarn over, insert hook into front loop of the puff st then insert hook into the next st's front loop, yarn over and pull 3 loops thru.
Yarn over, pull 2 loops thru.
Hope this helps!
Subscribe to:
Posts (Atom)


Social Icons