Showing posts with label crochet patterns. Show all posts

Crochet Bag Patterns (Free & Paid)

Looking for your next crochet bag project? I've gathered a mix of free and paid crochet bag patterns, including totes, colorwork designs, simple classics, intricate textures  and unique styles. Some of the free patterns also offer ad-free PDF versions, giving you the option to support the designer while enjoying a less distracting experience.


Free

 Ophelia Round Bag originally designed by Nine Inspired posted on Littlejohn's Yarn

A very cute option for a Wednesday style bag. Cotton scrap yarn would work great for the colorful portion or a cute variegated colorway. Support ad free here


Perfect Fit Hobo Bag by Claire Ortega-Reyes on the Crochet Spot

I love this half moon shape! This would probably be super cute as an ocean theme with some matching keychains and a statement button.


Lucinda Bag by Divine Debris. Support ad free here

This tote is the perfect size and it has such pretty texture! Perfect for a pretty cotton yarn. 


Shell-Shopped Bag by Tyrneathem

This would be a great option for using up cotton yarn in variegated and scrap colors. This features a shell stitch throughout the main part of the bag. 

  Granny Square Hobo Bag by Blackstone Designs. Support ad free here

A great pattern for using up cotton or acrylic scraps. Choose a theme like monochrome, gradients or pastels.


Paid


Feelin' Groovy Beach Bag by Sarah Miskelly

A pretty retro flower granny square design! Check out the other projects in the link to see how others made it. There's something interesting color combinations.

Fleur Market Bag by Ines Rodgers

Such a beautiful flower design!

Black Cat Tote Bag by Marina Vershinina

This is super cute. This colorwork technique is intarsia and it's for intermediate crocheters.

Reel Time Crossbody Bag by Kathy Olivarez

This pattern comes in 2 sizes and the design has a magnetic closure. Directions are included on how to line the bag.


I hope this collection helped you discover your next crochet project. Be sure to save your favorites and support the designers when you can. Happy crocheting!

What type of crochet bag do you enjoy making most?


16 Floral Mitten & Glove Patterns

I love flower and lace motifs so I put together a collection of some of my favorite crochet and knit mitten/glove patterns. It's not quite cold here in California yet but it's never too early to start making winter accessories!

Crochet:


$5.00 USD


$4.00 USD

$3.41 USD


Published in the book Ruby & Custard's Crochet


Free


Free


Free


Knitting:


$5.50 USD


$6.04 USD


$4.64 USD


$4.64 USD


$4.00 USD


$5.00 USD


$5.50 USD


Free


Free


Which designs are your favorites?


Crochet Pattern: Fox Hat


Materials:
H or I crochet hook
Orange, Black & White in worsted weight yarn
Black & White Thread
Sewing needle

Pattern:
Chain 4 and join with a slip stitch to the first chain to make a ring.


R1: Hdc 8 times into ring.
R2: 2 Hdc around.
R3: *Hdc once, 2 Hdc in the next stitch* around.
R4: *Hdc in the next 2 sts, 2 Hdc* around
R5: *Hdc in the next 3 sts, 2 Hdc * around.
R6: Ch 1, *Hdc in next 4 sts, 2 Hdc* around.
R7: *Hdc in the next 5 sts, 2 Hdc* around.
R8: *Hdc in next 6 sts, 2 Hdc* around.
R9: Hdc in every stitch around.
R10: Hdc in every stitch around.
R11: Hdc in every stitch around.
R12: Hdc in every stitch around.
R13: Hdc in every stitch around.
R14: Hdc in every stitch around.
R15: Hdc in every stitch around.


Cut a short tail and attach black yarn

R16: Hdc in every stitch around. Slip stitch in the last stitch.


Cut a short tail and attach white yarn

R17: Hdc in every stitch around.
R18: Hdc in every stitch around.
R19: Hdc in every stitch around.
R20: Hdc in every stitch around.
R21: Hdc in every stitch around.


Ears (make 2)

Begin with the orange yarn.

1. 5 sc into ring.
2. Sc in the next 2 sts, Inc once, Sc in the last 2 sts.
3. "Inc in one st, Sc in the next" around.
End with one Inc.
4. "Inc, Sc in the next 2 sts" around.
5. "Inc, Sc in the next 3 sts" around.
6. Sc in every stitch around.
7. Sc in every stitch around.
8. Sc in every stitch around.
9. Sc in every stitch around.
10. Sc in every stitch around.

Leave a long tail to use for attaching to the hat.


Begin with white yarn.

1. Ch 3. Skip one st and sc in next 2 chains.
2. Inc in every stitch around.
3. Inc once, Sc across, end with one Inc.
4. Inc once, Sc across, end with one Inc.
5. Dec once, Sc across, end with one Inc.
6. Sc in every stitch around.
7. Sc in every stitch around.
8. Sc in every stitch around.

Cut a short tail and weave ends in. You will need white thread to sew this onto your ear.

Begin with black yarn.

Chain 11.
1. Skip one chain, Sc in the next 5 chs, Inc once and Sc in the next 4 chs.


Cut a short tail and weave ends in. It's best to attach the white piece onto the orange piece of ear. The black piece will form to the top. Sew pieces into place.


Headbands


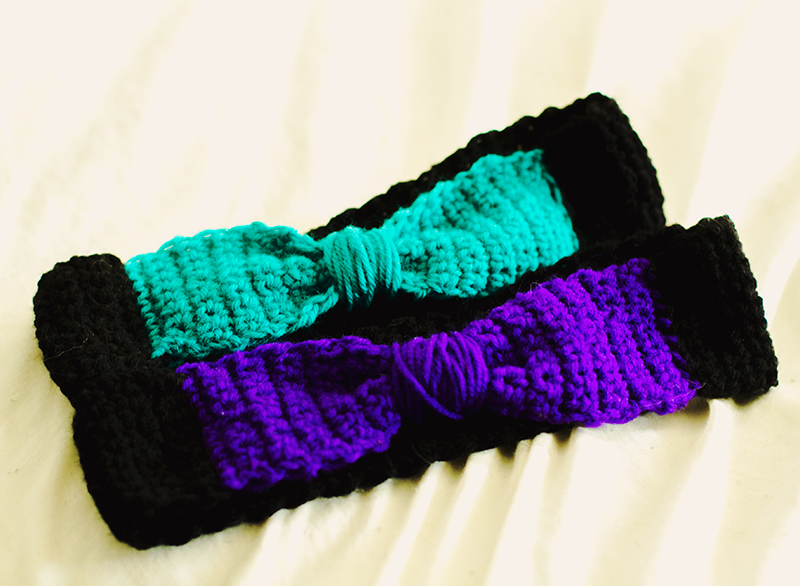
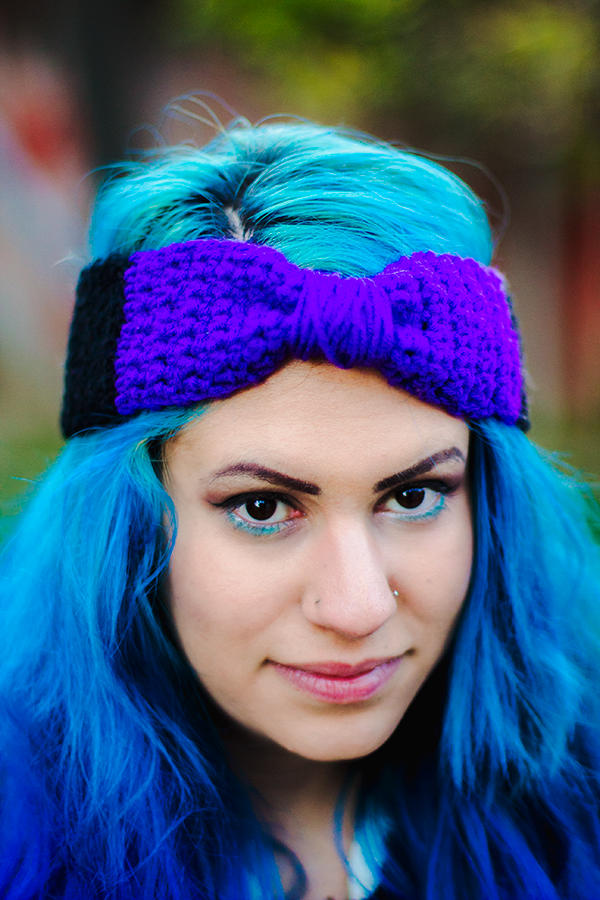
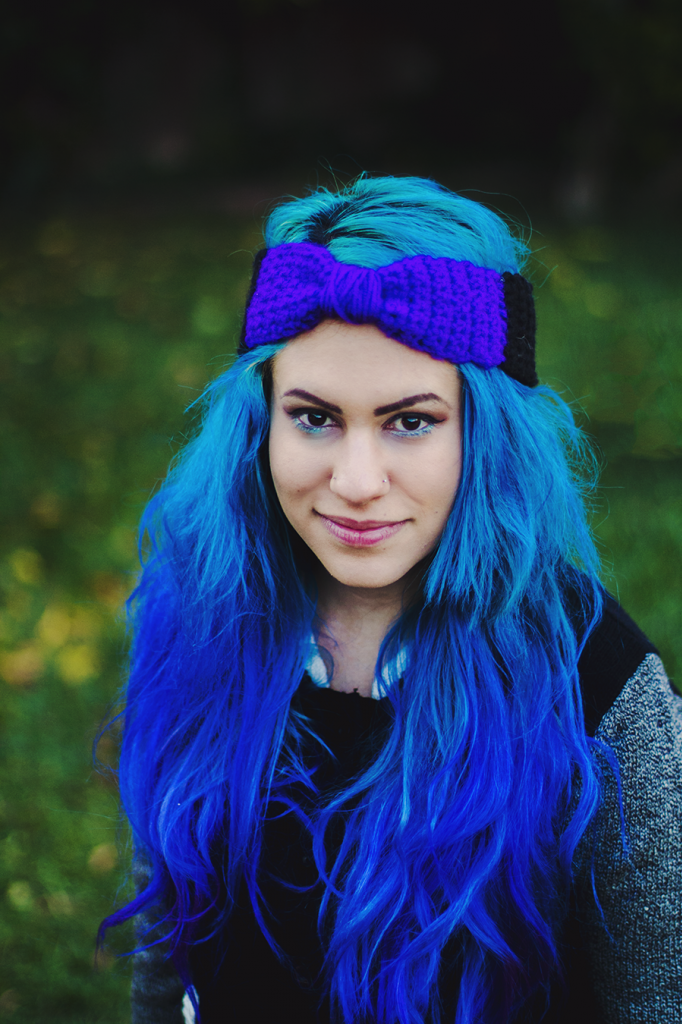
I got an order for two headbands! I used Red Heart for the black and purple. The teal is Wool of the Andes Yarn from KnitPicks! I started with 10 chains for these and did it a bit differently just to secure it into place :)  Surprisingly how I don't have much teal yarn.

Bow Headband Pattern


Jacket- Forever21


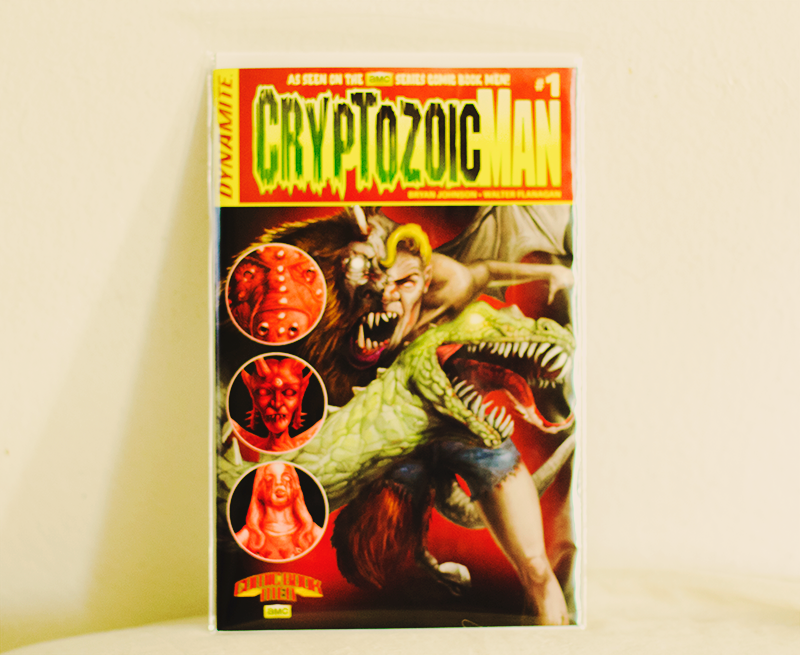
I love Tell 'Em Steve Dave and I've been listening since about two years ago. So excited to get my hands on Cryptozoic Man ever since I have heard about it! I love the artwork. Can't wait til I read more.

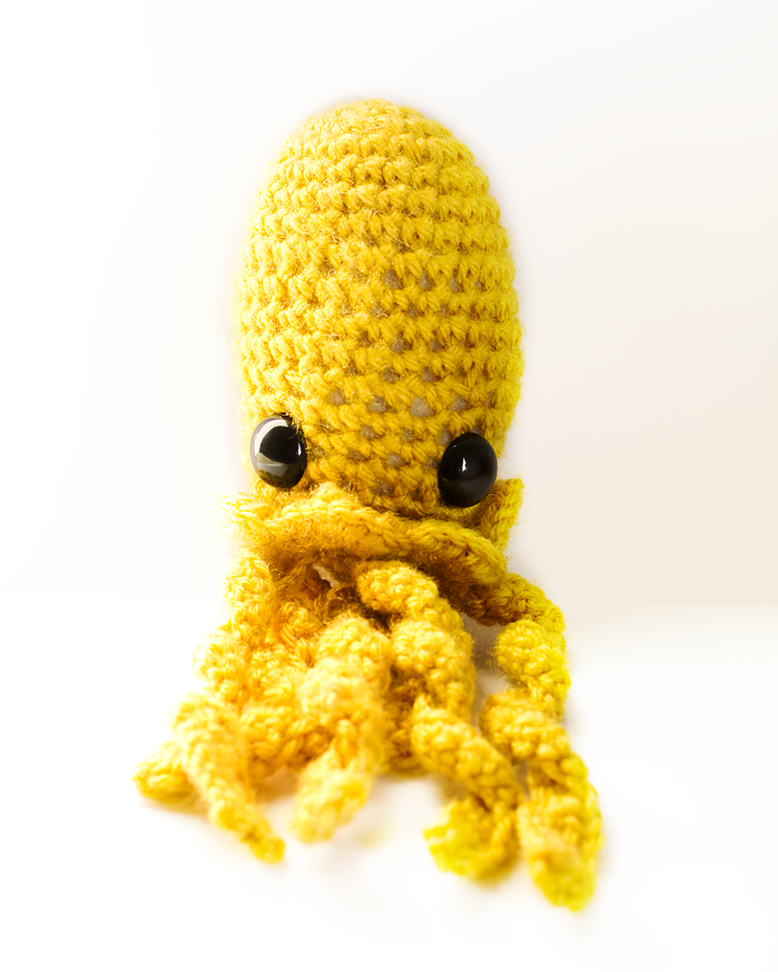
Jellyfish Amigurumi Pattern


It's now up on Ravelry!  


SUPPLIES
Worsted Weight yarn
G or D hook
Polyfill stuffing
15mm or 18mm safety eyes
Weaving needle

HEAD
Magic ring.
1.  6 single crochet into ring. (6)
2.  increase around (12)
3. "Single crochet, increase" around (18)
4. Single crochet 2 times, Increase" around (24)
5.-11 Single crochet around. (24)
12. "Single crochet 3 times, decrease" around. Single crochet in the last stitch.  (20)
13-17. Single crochet around. (20)
18. Single crochet once.
"Hdc 6 times in the next stitch, skip the next stitch,  Single crochet in the next 2 sts" around.
Single crochet in the last stitch. (50)
 Start stuffing and cut a short tail.


BOTTOM PIECE
Magic ring
1.  6 Single crochet into the ring.
2.  Increase around. (12)
3.  "Single crochet, increase" around. (18)
 

Hold up the piece FIRST underneath to line up with the hole.  I like it to be small because then it'll lay flat.  If it's too tiny, then do another increase round. Leave a long tail to attach around the very bottom of the 6 HDC's.

Then cut a long tail to attach it.


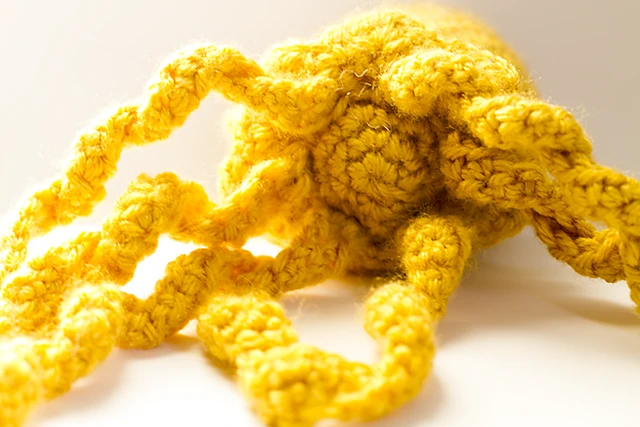
TENTACLES: Make 6 or 7
1. Chain 30.
2. Skip one, single crochet across.
3.  Chain 1, skip one, single crochet across.

I always attach one tentacle in the middle and then two on each side. I turn it around and attach another across the middle one to make sure it lines up. There was enough space on mine to add a 7th one :)


Crochet Pattern: Floral Headband


Flower: (crochet 5)

1. Chain 35. Skip the first chain. Single crochet in the next 3 chs.
Repeat { “Chain 3, skip next chain, single crochet in the next 3 chs” } til the end.
2. Chain 3. “Double crochet 3 times, slip stitch, double crochet 4 times” in the hole and sc in the next st.
Repeat {Dc 3x, sl st, Dc 4x" in next hole, sc in next }
Sc in the last two sts.


Headband Piece:

Foundation- Chain 100. Cut.

1. Attach yarn by a single crochet in the 16th chain from one end. Single crochet across. Leave the last 16 chains untouched.

2. Turn. Chain 2. Skip first stitch, half double crochet across.

Sew on each flower onto the band piece or you could weave in ends to attach it!


2026 Update:
 I used to have a PDF for this but it is lost. I'm currently in the process of recovering broken elements.

Crochet Pattern: Quick Bulky Hat


One skein of Loops & Threads Cozy Wool
Crochet hook M/9mm
Large button

Pattern
Start with a Magic Ring.

1. Double crochet 10 times into the ring.
Insert your stitch marker.
2. Double crochet twice in each stitch.
3. "2 dc in the next stitch, dc once in the next 2 stitches" around.
4. Dc in each stitch around.
5. Dc in each stitch around.
6 "Decrease, dc in the next 3 stitches" around.
7. Dc in each stitch around.
8. Dc in each stitch around.
9. Single crochet in each stitch around.

Sew on a button on a side. Done! :)

Crochet Pattern: Pokeball Hat V.2


Here's a redo for the Pokeball hat! This is supposed to fit more loosely than my first pokeball hat. The biggest complaint was it could only fit a child's head.  All of my hats are made to fit my own head which is a 22" head circumference. 

The other difference is this circle piece should lie flat with the increase round.

Supplies:

  • worsted yarn in red, black & white
  •  I hook
  • yarn needle to weave ends in.


Hat

Red-
11 dc into ring.
2 dc around.
'2 dc, dc' around.
'2 dc, dc in next 2 sts' around
dc around
'2 dc, dc in next 3 sts' around
'2 dc, dc in next 4 sts' around
dc

Black
dc around
dc around

White
more or less for length
dc around
dc around
dc around
dc around
dc around


Circle piece

White
11 dc into ring, sl st.
Ch 2. hdc into a ch space. 2 hdc around.


Black
Attach, ch 1. sc increase around.


If you have made anything using my patterns, please send me pictures!


View this on Ravelry

Crochet Pattern: Original Pokeball Hat


I made this hat originally for myself and I decided to share the pattern on my blog. There have been several comments about this hat coming out too small. Just for reference, my head circumference is 22". 

Another version is available here if you need a larger size.

P.S. Join by slip stitch or keep going around whatever your preference is.

I used Caron yarn.

I hook
with red yarn
Chain 3. 6 half double crochet into the ring.
Chain 2. 2 hdc (increase) in each stitch.
Chain 2. 1 hdc in next st, 2 hdc in the next.
Ch 2. 1 hdc in next 2 sts, 2 hdc in the next.
Ch 2. 1 hdc in the next 3 sts, 2 hdc in the next.
Ch 2. 1 hdc in the next 4 sts, 2 hdc in the next.
Ch 2. 1 hdc in the next 5 sts, 2 hdc in the next.
Ch 2. 1 hdc in the next 6 sts, 2 hdc in the next.
Ch 2. 1 hdc in the next 7 sts, 2 hdc in the next.
Ch 2. hdc across.
Ch 2. hdc across.
Ch 2. hdc across.
Ch 2. hdc across.


Black:
Ch 2. hdc across.
Ch 2. hdc across 7 times, hdc decrease in the next 2 stitches.
Ch 2. hdc across.
Ch 2. hdc across 7 times, hdc decrease in the next 2 stitches.
Ch 2. hdc across 5 times, hdc decrease in the next 2 stitches.

White:
Ch 2. hdc across


Circle piece:
H or I hook
Start with white yarn:

Ch 3.  hdc 6 times into the first chain to form a ring.
Ch 2. 2 hdc in each st around.
Ch 2. 2hdc in the next st, 1 hdc in the next st around.

Black as the border around the circle:
Ch 2. 2hdc in the next 2 sts, 1 hdc in the next st around.

Sew this piece on the center