Showing posts with label diy. Show all posts

Bracelets

For some reason I've been addicted to making bracelets with a design on the back of the hand with an attached ring. I get so much more inspired to create things when I can combine different materials together. I wanted to make a stretchy bracelet but also be able to have an unique pendant via wire wrapping.

I really like the one of a kind nature of wrapping crystals and stones, you just do what feels right for each piece rather than having a design in mind and following it exactly. That's what I was thinking about when I was making this butterfly bracelet.

Butterfly:


I tried using a mix of different type of beads in pink and purple colors. I also added some of my seed beads onto some of the jump rings for extra color but also of course to use up those leftovers beads.

I used the butterfly shape from this Butterfly Brooch tutorial as a reference to start and then improvised the rest to make it the way I wanted. Then I added the beads in the top wing parts by wrapping the wire onto the top outer corners and pulling it down toward the body, wrapping it all around that area to keep it secure. For the bottom wings, I wanted to do something a little different from the top so I attached a jump ring with seed beads on it. When I finished making the rest of the bracelet, I put the light pink crystal bead on the center of the body to make it pop.

Turquoise stones:


This was inspired by this bracelet that I found on Pinterest. I wanted to make another bracelet with a ring but with the turquoise beads on the back of the hand. I also wanted to keep it a simple design (unlike the butterfly one!).

I just put the beads on a gold wire and wire wrapped loops on each end. I made the chains out of small jump rings and attached a clasp.


Crochet Pattern: Octopus Phone Cozy DIY


Hello! I wanted to share how I made this crochet octopus phone cozy. It's more of a guide than a pattern, so you can create it to fit your own phone. If you want to make this as a gift for someone, you'll just need to find out their phone model and then you can look up the dimensions.

Materials & Tools:
  • Worsted weight yarn in a main color for the octopus and contrasting color for the mouth. 
  • E/3.5mm hook
  • Button
  • Yarn needle
  • Embroidery needle
  • If you want to crochet the eyes: worsted weight yarn in black.
  • If not: black felt and a hot glue gun. 

Cozy Pattern:


1. Chain the width (not circumference) of the phone. If the phone is thick, add a few extra chains.

2. Skip the first chain from the hook, single crochet to the end. 

3. Then rotate your work to crochet on the bottom of the foundation chain, single crochet to the end. Make sure to crochet over the yarn tail as you go along. Now you have a long oval shape. 

4. You can work in spirals or in joined rounds, whichever you prefer. Make single crochet rounds or rows until it measures the height of the phone. Slip stitch a couple times if you worked in rounds to make the top even. Fasten off and weave in the end.

5. Lay the cozy flat and sew a button in the center a few rows down from the top.

6. Now make a chain loop closure on the top center of the row on the other side. Make a slipknot and chain into the stitch on the right side of the button. Make a chain that is long enough to go down and over the bottom snugly. Then skip a stitch or two and slip stitch into the next stitch. Weave in all the ends.


Eyes (Make 2):

If crocheting eyes: 
Make a simple 6 stitch circle made of half double crochet or single crochet. Then sew them on. 

If you want to make them out of felt: 
Cut out circles and hot glue them on.


Mouth:

12 single crochet into a magic ring, keeping a small hole in the center. Fasten off and sew it on the center of the cozy between the eyes.


Tentacles (Make 4 or more?):

4 tentacles is good because we can just pretend the other 4 are hiding in the back! But if you'd like to have more, get a ruler and place pins to evenly divide sections by how many tentacles you want.

1. Make a chain of the width of the tentacle and subtract about 2-3 chains because you'll be crocheting an edging all around when you're done.

2. Single crochet in rows until it's about 1"/2.5cm or to your desired length. 

3. Single crochet along the sides and bottom of the rows to make a finished edge. Fasten off, leaving a tail for sewing.
A
4. Sew onto the bottom of the long side of the cozy through both crochet layers. Repeat for all tentacles. Weave in all the ends.

DONE!! ~~

If you make this, please share it in the comments! We've love to see it! :)

- Amanda

Blythe Reroot

I'm not really into dolls but I do like trying new things so I thought I'd try customizing a blythe fakie for fun. I started off with a reroot because I like pretty fibers!!


I bought a rubber scalp from Cool Cat and used about 1oz of pink lilac ombre teeswater locks from LiaRiabaRussa and 1.2oz of purple wensleydate locks from PinkLambUK!


I really like the texture and the width of the locks as they are so I didn't want to brush them out or make the plugs much smaller.


Thatching the partline.


I wanted to keep the length so I did the knot method and used a rooting tool to make all the holes and then I pulled the strands through with a 1.30mm crochet hook.


Now I need to change the eye chips and paint the eyelids. I might try carving the face and changing the eyelashes some other time.


Sewing: Retro Swing Dress


I used WhattheCraft's Retro Swing Dress Pattern. My measurements are kind of all over the place but I made size small and with the stretch fabric, it fits good. The belt is from a pencil skirt I got forever ago at like Macy's. I wish I could find another one like it!! (Maybe in a purple? Hint hint!)

This pattern really does need a petticoat to look epic. Of course, I don't have one so I cheated and used my tulle/crepon skirt from my Sailor Moon Human Luna cosplay.

I've made a couple princess seamed bodices and circle skirts before and found this pattern easy to follow. I don't really have experience using commercial patterns so I love to use indie patterns/tutorials. I tried making a dress pattern from Vogue before and the sizing was weird and just nope.

I've only sewn stretch fabric from scratch once before and figured it couldn't be too hard. I just looked for a color I liked in a stretch fabric and found Ity Silky Jersery Knit. (It seems the Caribbean Green color is no longer available.) I never used this type of fabric before and assumed it couldn't have been much different from the knit rib fabric. I had no idea what to expect because for once, I didn't get around to reading up on it first.

It turns out the fabric is super slippery. It probably took me all day just to cut out all the pieces. I spent forever trying to figure out what needle would work with the fabric. I destroyed a scrap of the fabric with skipped stitches everywhere and also ended up breaking a couple of the needles. I had to buy 3 different sets of needles until I found one that would actually work!!

So I really like this dress design and when I ordered the green fabric, I figured sure I'll get the fabric in another color too so I can make two dresses! Good idea, the fabric is going to be hibernating in the closet for years now. But I will definitely be making more of this pattern someday, just in a different fabric!!

Do you have any favorite sewing patterns? Always looking for new projects! :)


Headbands


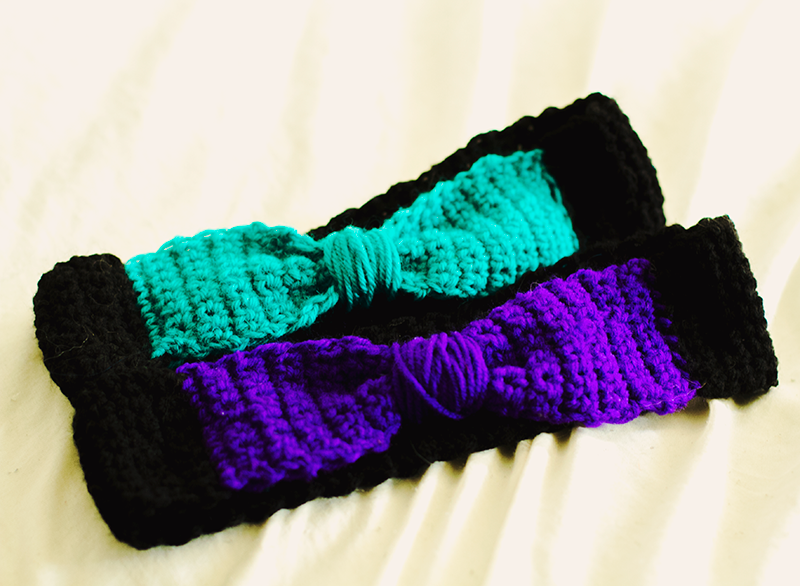
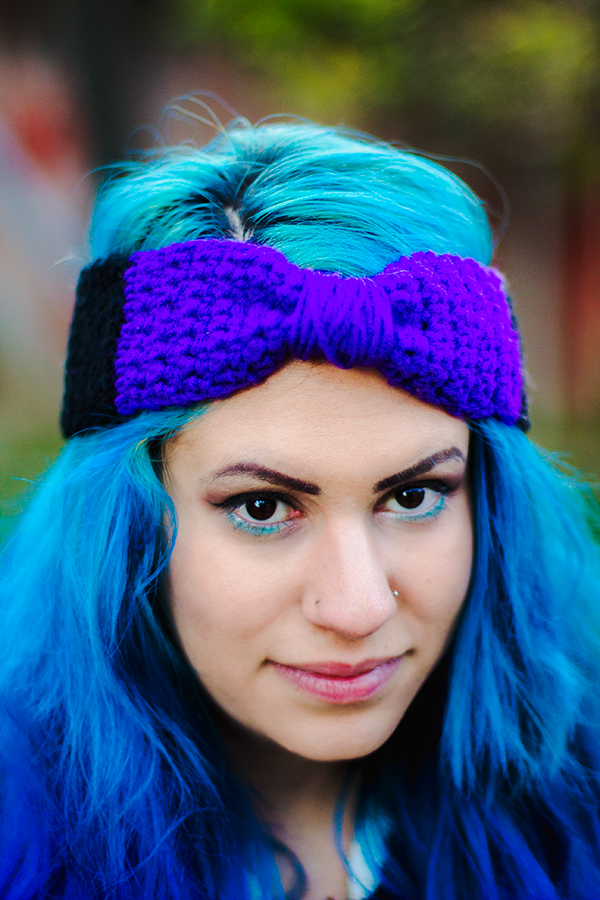
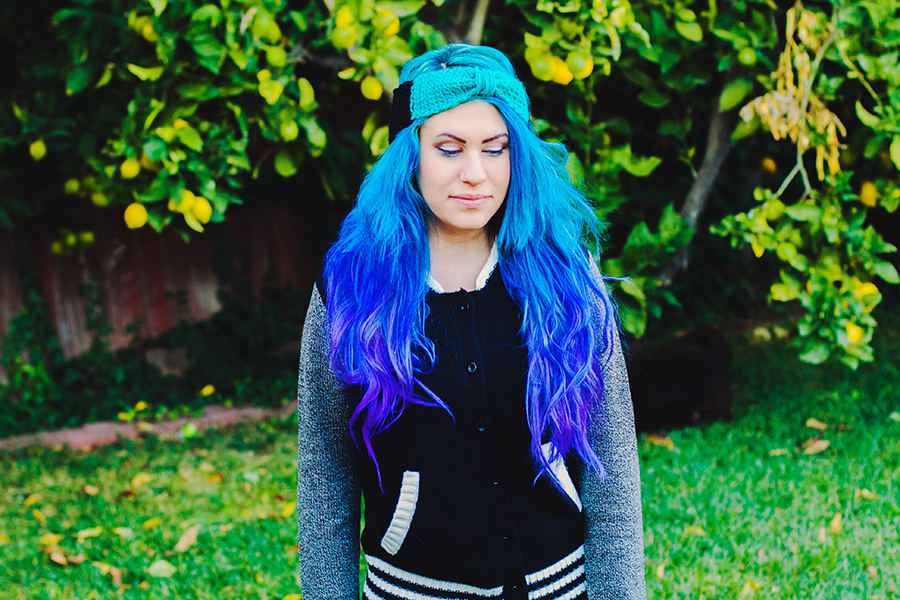
I got an order for two headbands! I used Red Heart for the black and purple. The teal is Wool of the Andes Yarn from KnitPicks! I started with 10 chains for these and did it a bit differently just to secure it into place :)  Surprisingly how I don't have much teal yarn.

Bow Headband Pattern


Jacket- Forever21


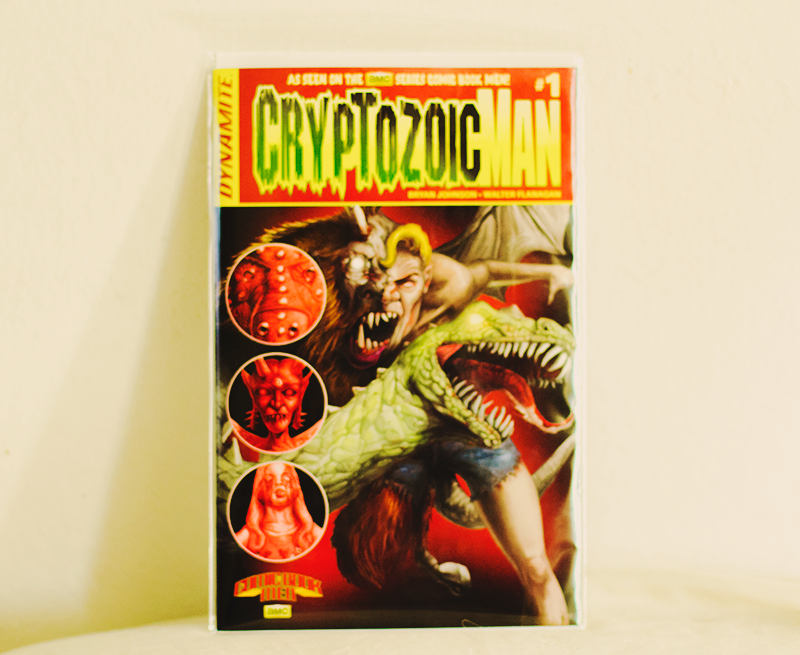
I love Tell 'Em Steve Dave and I've been listening since about two years ago. So excited to get my hands on Cryptozoic Man ever since I have heard about it! I love the artwork. Can't wait til I read more.

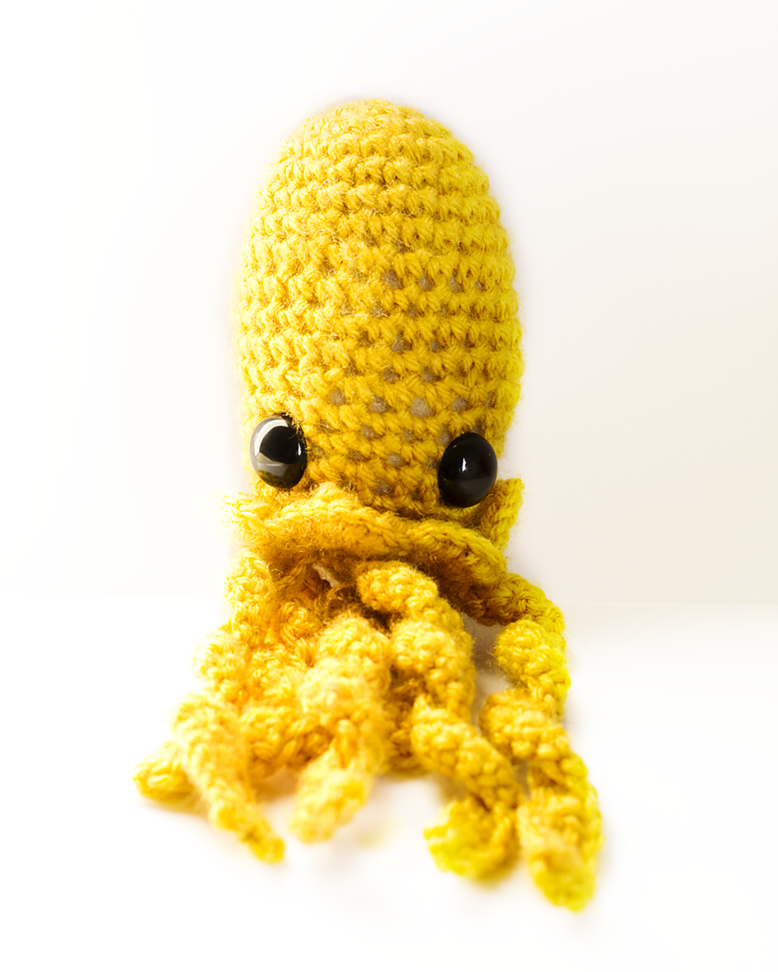
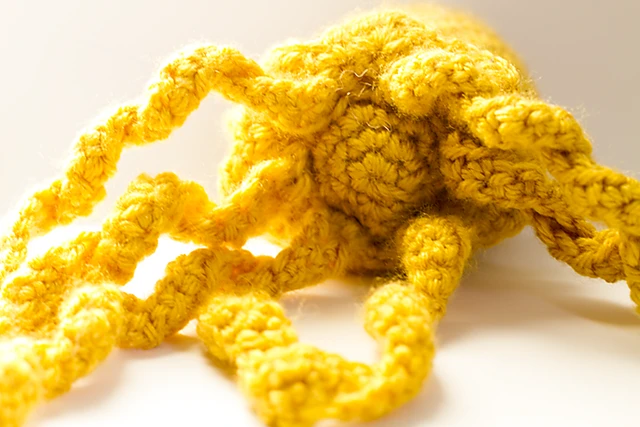
Jellyfish Amigurumi Pattern


It's now up on Ravelry!  


SUPPLIES
Worsted Weight yarn
G or D hook
Polyfill stuffing
15mm or 18mm safety eyes
Weaving needle

HEAD
Magic ring.
1.  6 single crochet into ring. (6)
2.  increase around (12)
3. "Single crochet, increase" around (18)
4. Single crochet 2 times, Increase" around (24)
5.-11 Single crochet around. (24)
12. "Single crochet 3 times, decrease" around. Single crochet in the last stitch.  (20)
13-17. Single crochet around. (20)
18. Single crochet once.
"Hdc 6 times in the next stitch, skip the next stitch,  Single crochet in the next 2 sts" around.
Single crochet in the last stitch. (50)
 Start stuffing and cut a short tail.


BOTTOM PIECE
Magic ring
1.  6 Single crochet into the ring.
2.  Increase around. (12)
3.  "Single crochet, increase" around. (18)
 

Hold up the piece FIRST underneath to line up with the hole.  I like it to be small because then it'll lay flat.  If it's too tiny, then do another increase round. Leave a long tail to attach around the very bottom of the 6 HDC's.

Then cut a long tail to attach it.


TENTACLES: Make 6 or 7
1. Chain 30.
2. Skip one, single crochet across.
3.  Chain 1, skip one, single crochet across.

I always attach one tentacle in the middle and then two on each side. I turn it around and attach another across the middle one to make sure it lines up. There was enough space on mine to add a 7th one :)


Magic Ring for Amigurumi

A magic ring is a way to begin crocheting in the round by crocheting over an adjustable loop. It's also known as: magic loop, double ring, double loop, adjustable ring, etc.


1. A few inches from the end of the yarn, wrap two loops over your finger.


2. Insert the hook from right to left into the loops.


3. Pull the working yarn through.


4. Carefully take the loops off your fingers and chain one. This doesn't count as the first stitch.


5. Insert the hook into the two loops again and pull up a loop. Yarn over and draw through both loops. This counts as the first single crochet stitch.


6. Continue for the rest of the stitches. Then pull the yarn tail to close the hole.


Made in Feburary 2013.


DIY: Kitty Mary Janes


Multitasking and procrastinating are two things I'm amazing at. This idea was put on the backburner for a few weeks because I had too many things going on.

The slippers were already complete for a while and the other night I finally got around to putting a kitty face on it. It's a prototype! I may do a different face with a detailed mouth. Those were also my last safety eyes. :(


Any shoe/slipper/sock projects that you like?