
2.19.2015
How to add a Blog Signature in Blogger
Hi! I'm sharing a tutorial today on how to add a signature in Blogger. This method will automatically be placed at the bottom of each post and will update if you change the image. It's my preffered method because it's easy to set up and it will show up on your older posts. This code is set up so it will prevent a pin it over from showing on your signature!
The older method has you put code in Blogger's Post Template section. So that specific code will show up every time you create a new post. The downside of this is you can't update ALL your older signatures at once and you have to go back to remove every single old one.
Remember to backup your layout before making changes. Do this by going to Template > clicking on Backup/Restore button and Download full template right there.
PLACING THE SIGNATURE IN THE TEMPLATE
Upload your blog signature and get the direct link of it then replace YOUR IMAGE URL with it.
- Go to Template > Edit HTML and click in the box.
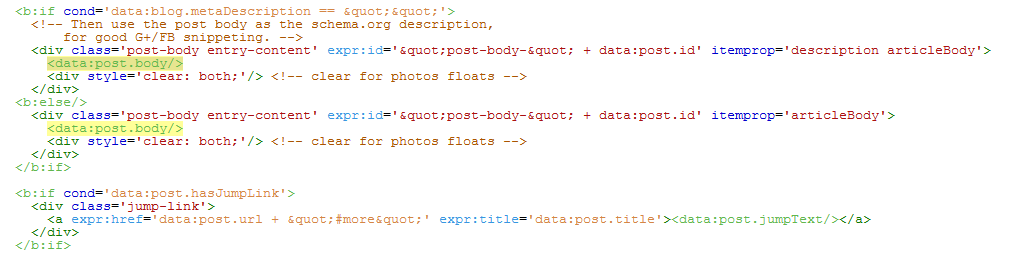
- Press CTRL + F to search this: <data:post.body/>
- Hit enter twice and you will see the second & third lines highlighted. Place it underneath the second one at the top.
Copy this code:
THE CSS PART
- Go to Template> Customize to open up the Template Designer.
- Click on Advanced > Add CSS.
Copy and paste this code into the box and hit Save.
UPDATING YOUR SIGNATURE
- Go to Template > Edit HTML and click in the box.
- Press CTRL + F to search this:<div class='signature'>
Hope this was easy to follow. If you'll like to see more posts like this, I'm open for requests! Just leave suggestions in the comments.
Subscribe to:
Posts (Atom)


Social Icons