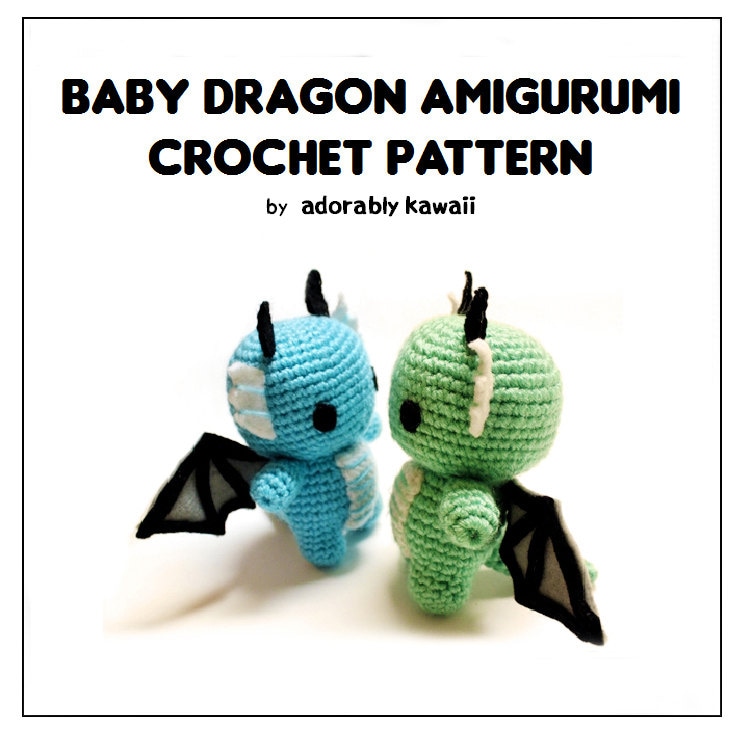
Supplies
❤ Wool of the Andes Worsted Yarn
❤ C or D & F hook
❤ Black felt for eyes.
❤ Thread
❤ Optional: yarn needle to weave ends in.
❤ Polyfill
❤ 2 pairs of 9mm safety eyes
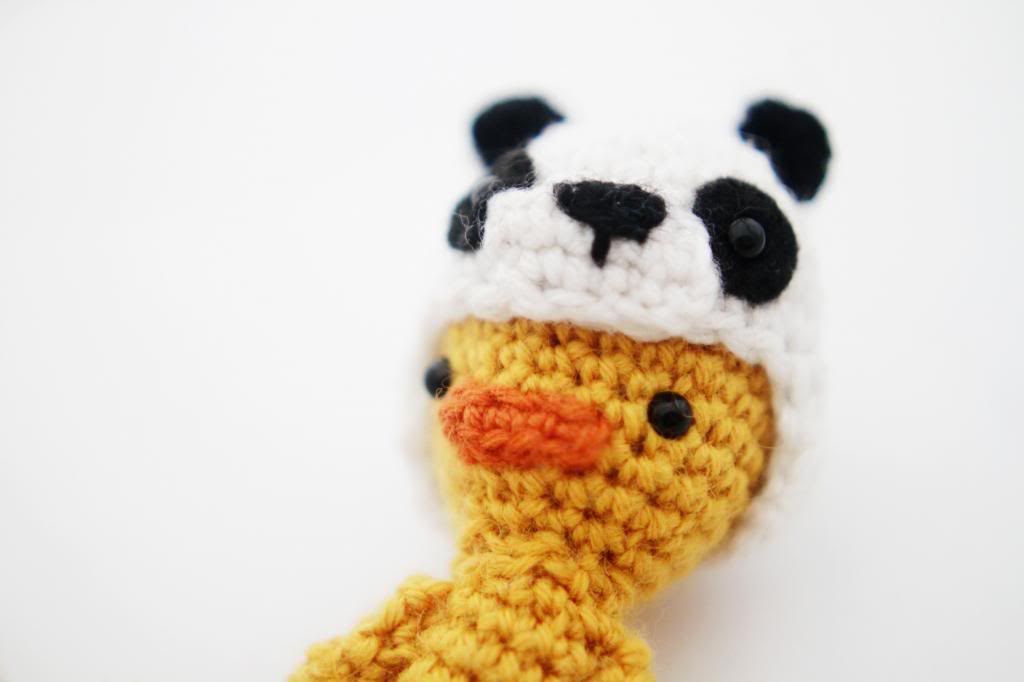
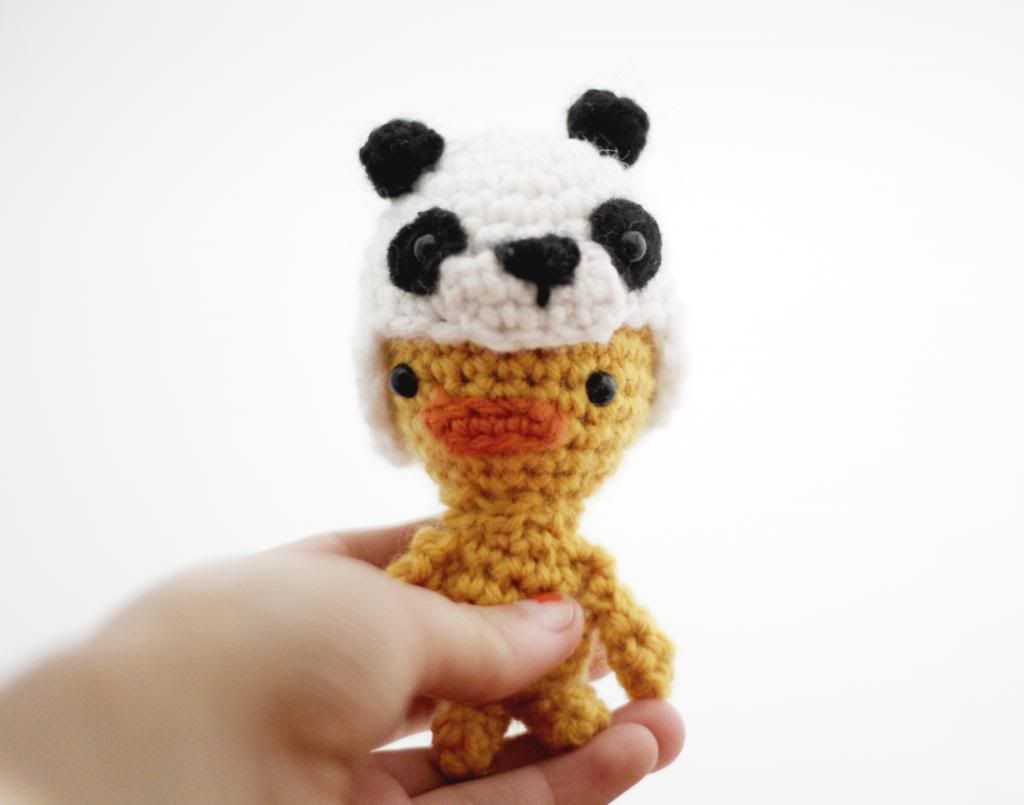
You will need yellow, orange, white and black yarn.
Crochet the head halfway to experiment with placing the eyes. Make sure you make the mouth and place it before you put the backs on safety eyes! Stuff.
*The yarn I am using is tiny so I am making sure that the foundation area is small and tight before increasing in every stitch. Always remember to switch your hook to a F!
Head
(Use a small hook like C or D)
Magic ring.
1. Crochet 8 single crochets into the ring.
(Switch to a F hook)
2. Inc in each stitch around.
3. "Increase in one stitch, sc in the next" around.
4. Single crochet in each stitch around.
5. "Sc in next 2 sts, inc" around.
6. Sc in each stitch around.
7. "Sc in next 4 sts, dec" around.
8. Sc in each stitch around.
9 "Sc in next 5sts, dec" around.
10. Sc in each stitch around.
11. Sc in each stitch around.
12. "Sc in next 3 sts, dec" around.
13. "Sc in the next 3 sts, dec" around.
14. "Sc in the next 2 sts, dec" around.
Mouth
(Use a small hook like C or D)
Magic ring.
1. Chain 6.
2. Turn. Skip first stitch, sc across. Sl st in corner.
Body
(Use a small hook like C or D)
Magic ring.
1. 8 single crochets into the ring.
(Switch to a F hook)
2. Inc in each stitch around.
3. "Sc in next 5 sts, dec" around.
4-7. Sc in each stitch around.
8. "Sc in next 4 sts, dec" around.
This piece covers the hole:
(C or D hook)
Magic ring.
1. Chain 6
2. Sc once, inc twice, sc once.
Arms
(C or D hook)
Magic ring
1. 4 sc into the ring.
2-4. Sc in every stitch around.
5. "Sc in each stitch, dec once, sc in the rest" around.
Legs
(C or D hook)
Magic ring
1. 4 sc into the ring.
2-3. Sc in every stitch around.
 *For the panda hat place it on your finished head! You'll be turning and crocheting back and forth. Use the duck's eyes as a guide as how far you should crochet across.
Panda Hat
(C or D hook)
Magic ring.
1. 6 sc into the ring.
(Switch to a F hook)
1. Inc in each stitch around.
2. "Inc, sc in the next stitch" around.
3. "Inc, sc in the next 2 sts" around.
4-6. Sc in each stitch around.
7. "Sc in the next 6 sts, dec" around.
8. "Sc in the next 6 sts.
9. Sc 6 times across, turn.
10. Chain 1, skip the first stitch and sc across to the *other eye.
11-14. Turn. Chain 1, Sc across.
15. Skip 2 sts, sc across, decrease in the last two sts. Sl St into the side.
Panda Mouth
(C or D hook)
Magic ring.
1. Ch 6
2. Skip the first stich, sc across. Sl st into side
I used black yarn for the nose/mouth :DEars(C or D hook)
Magic ring.
1. Ch 6.
2. Turn. Sc 2 times, inc in next 2 sts, sc 2 times.
3. Turn. Sc 3 times, inc once, sc in the remaining sts.
Cut out a square of black felt and place it over the panda's safety eyes. Cut the square into a circle based on the size. Always cut a little at a time just in case! Fold the circle and cut a tiny bit out to create a hole. Push the panda's safety eyes through and pop the back on to secure the piece. Sew on.
I don't think this is a project for a beginner because of all the pieces and sewing. I don't claim that my patterns are for any skill size so if you have any questions, comment or email!
12.22.2012
Crochet Pattern: Quick Bulky Hat


I suggest crocheting loosely for this and if it's still too small, try a larger hook size!
One skein of Loops & Threads Cozy Wool
Crochet hook M/9mm
Large button
Pattern
Start with a Magic Ring.
1. Double crochet 10 times into the ring.
Insert your stitch marker.
2. Double crochet twice in each stitch.
3. "2 dc in the next stitch, dc once in the next 2 stitches" around.
4. Dc in each stitch around.
5. Dc in each stitch around.
6 "Decrease, dc in the next 3 stitches" around.
7. Dc in each stitch around.
8. Dc in each stitch around.
9. Single crochet in each stitch around.
Sew on a button on a side. Done! :)
12.20.2012
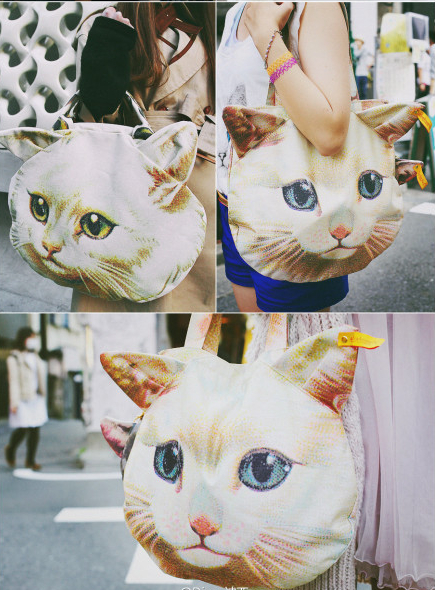
Cute Finds


Cat and heart stockings

There's also cute postcards in there. Check it out!

10.23.2012
Beauty Bloggers VoxBox 2012
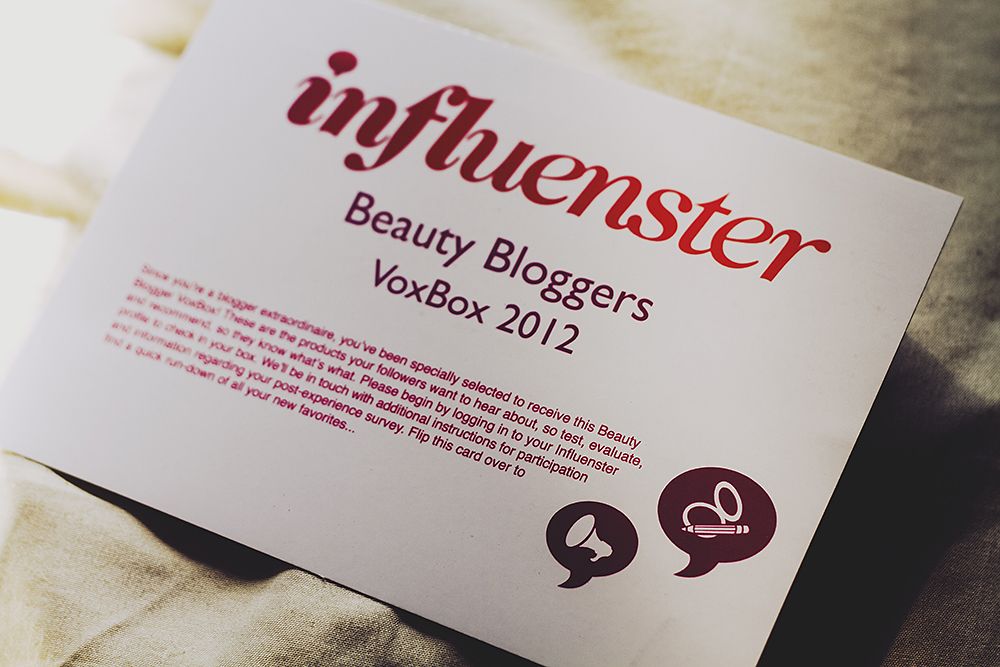
I got chosen for this Beauty Blogger VoxBox! You can see my last one here.
It'll be really cool if Influenster could do an additional survey to narrow down items that will fit you personally instead of going by random. As someone with unpredictable curly hair, the curl cream would have been a perfect chance for me to rave about! Not a big deal. There's one item I can't say anything about because I don't consume caffeine. ♥
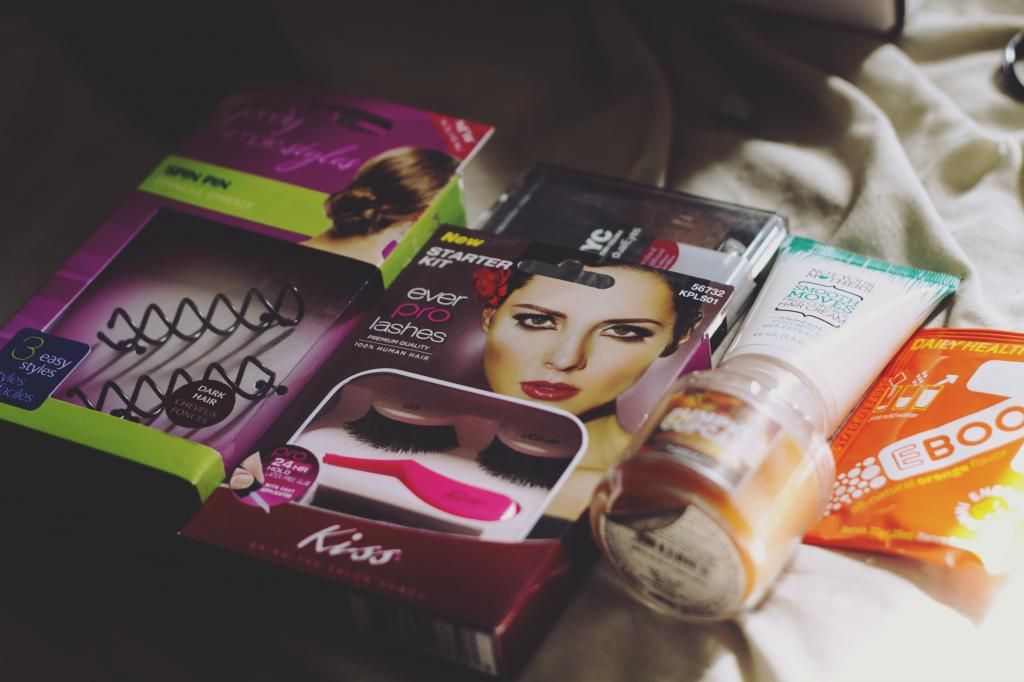
Here we go...
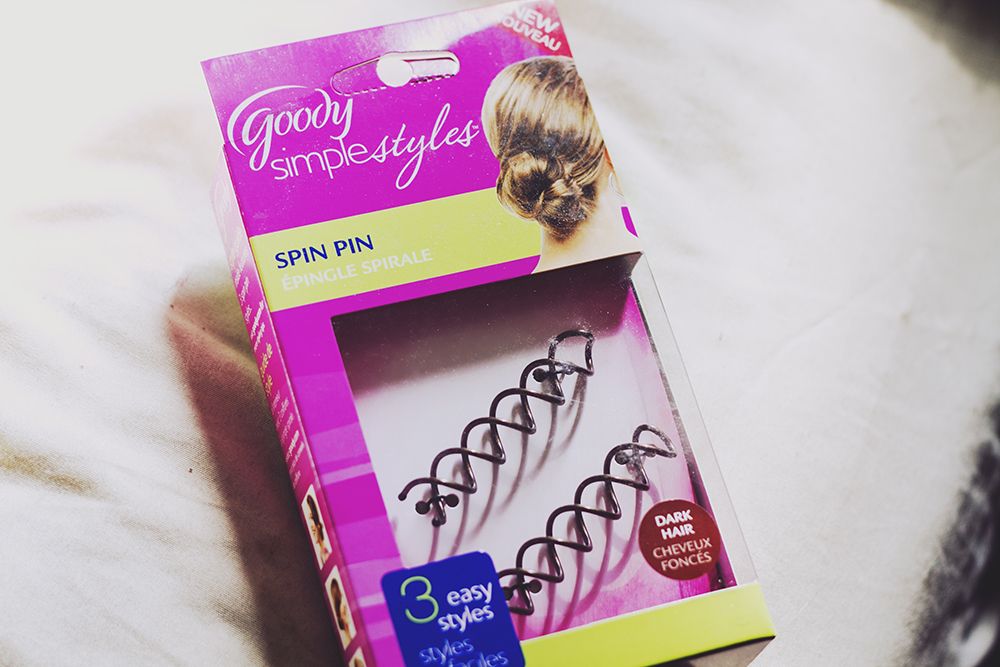
Goody Simple Styles Spin Pin
I've NEVER seen these things before. I'm inexperienced with any updo styling so this made me nervous. The box comes with easy instructions showing you how to do three styles! I love the side bun the most. Wrap your hair up in a tight bun, push the ends underneath and spin these babies in your hair to hold it in place! It's perfect.
I hate having to dig up hair ties and get all of my hair to fit into one. Or having my hand hurt trying to take a hair tie off. These are amazing for me. Using 1-2 spin pins instead of a million bobby pins.
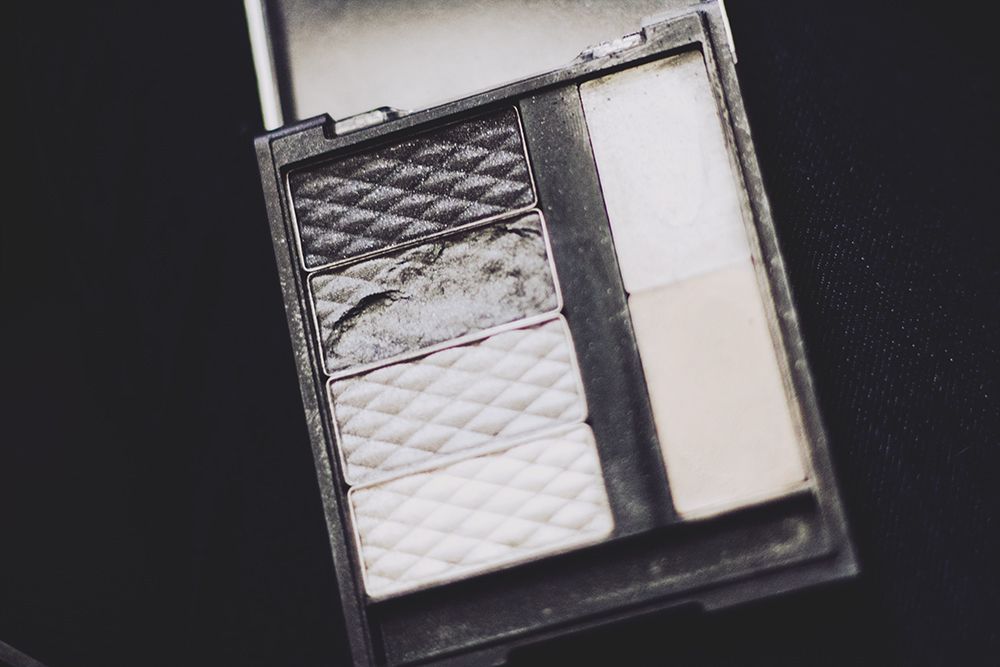
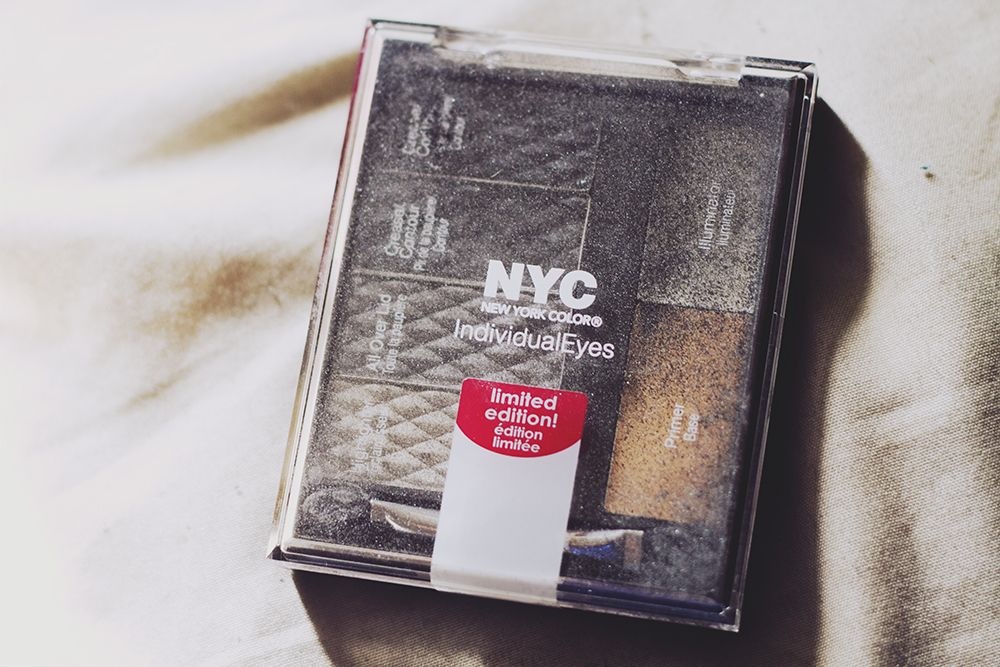
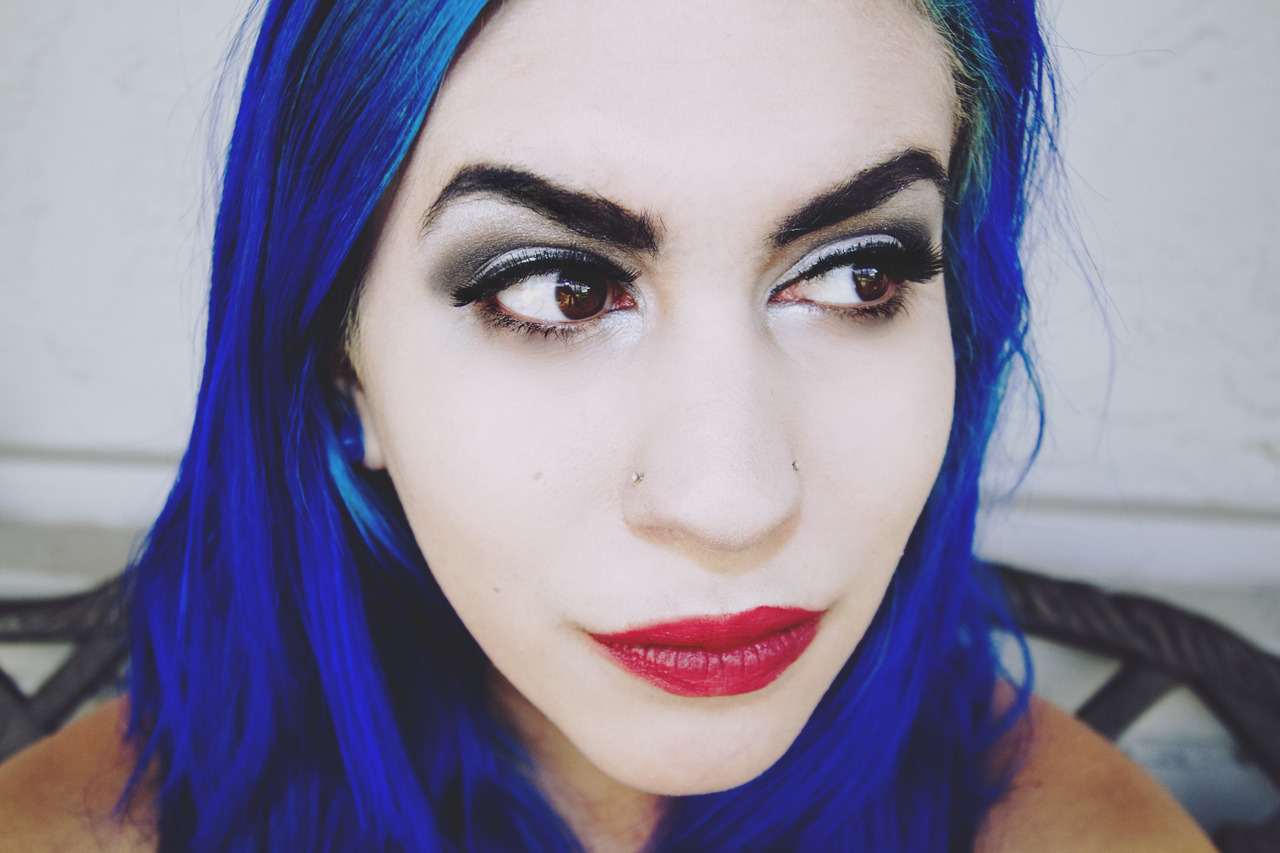
NYC Individual Eyes Dark Shadows
This baby had a little accident when getting to me haha. I tend to avoid dark smokey eyes/palettes because of my hooded eyes. Four shades are for the lid, crease, outer v and highlight. There's two creams as a primer base and illuminator.
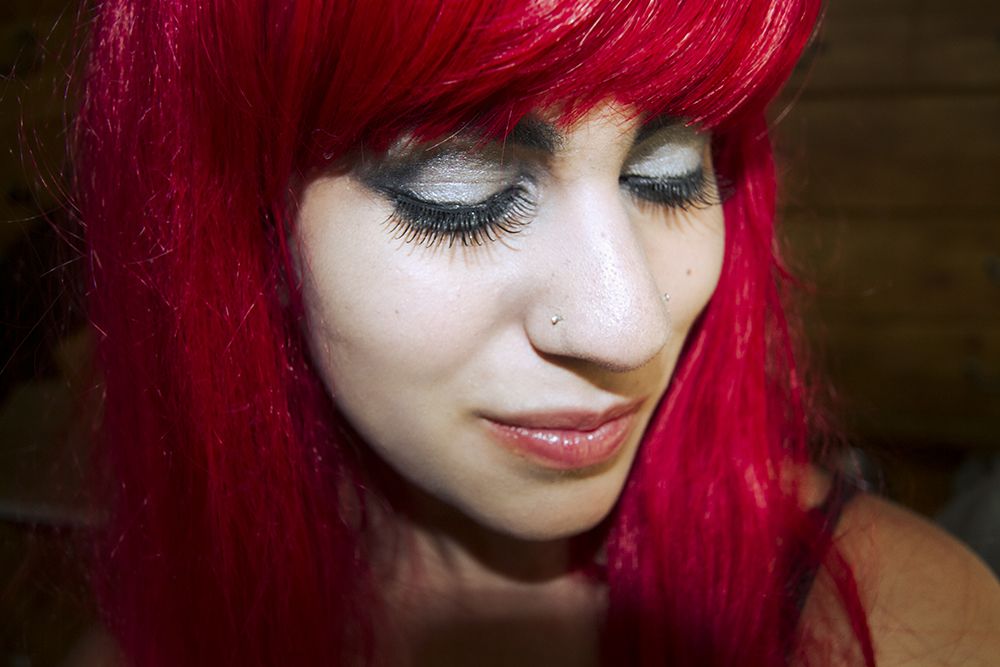
I apply the lid color then put the illuminator for my highlight. It helps me out with applying and blending the dark shadows out. Directions are on the back that you can peel off and lift to view! You can check out the other palettes here. I want to pick up Union Square and Smokey Browns soon!
 >
>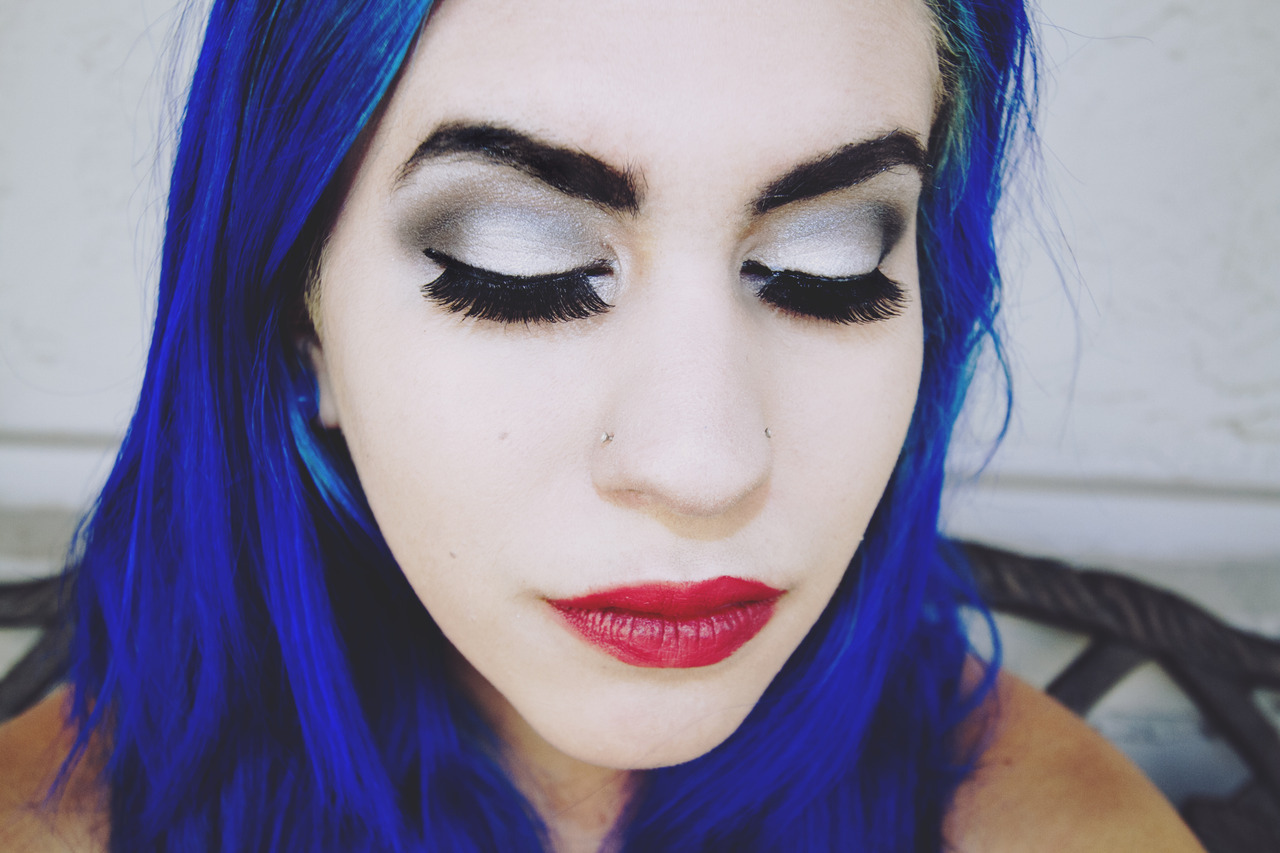
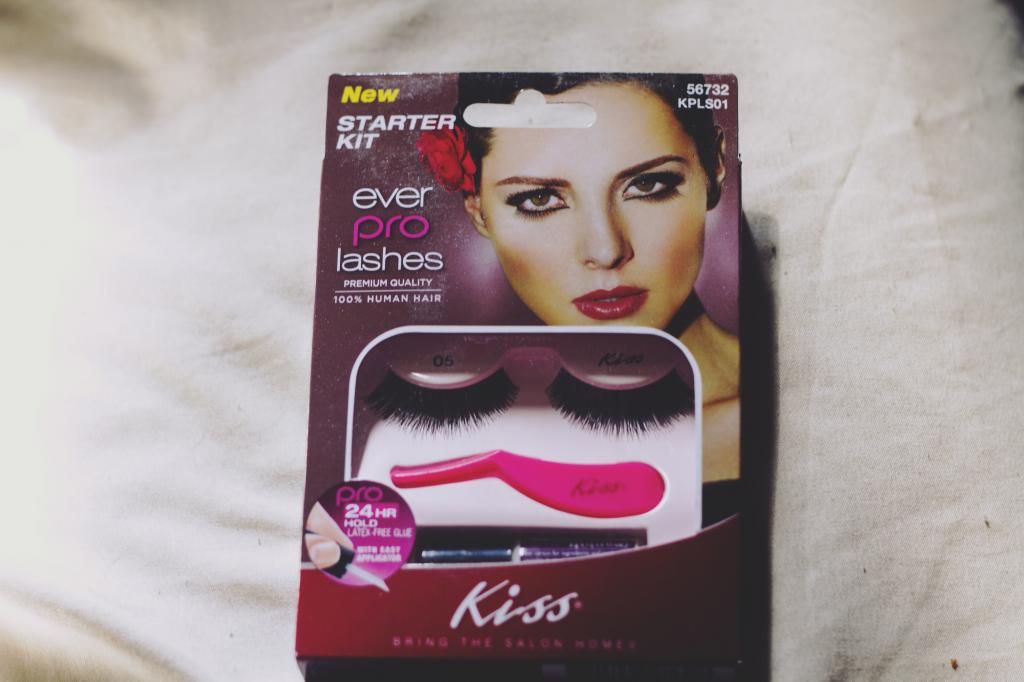
Kiss Ever Pro Lashes Starter Kit.
I love the quality of these lashes. These are very nice! I've worn them a couple of times now. The length fits my eyes perfectly and the applicator makes the process quick! I believe that applicator would help a newbie out well. Probably better than using tweezers imo! The glue is alright in my opinion.
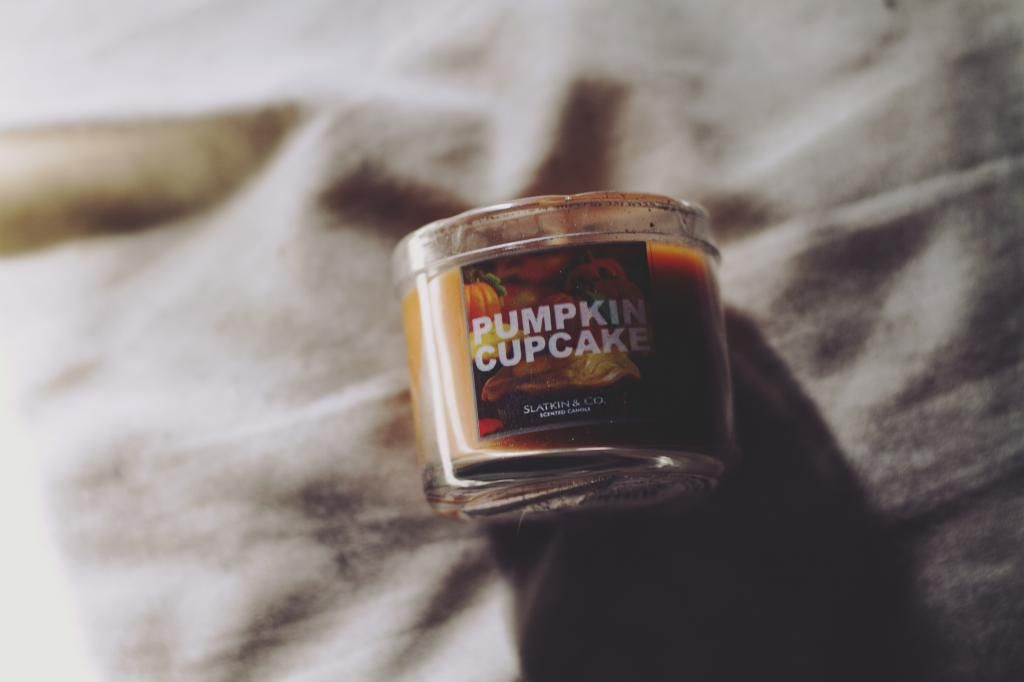 Bath & Body Works Mini Candles
Pumpkin Cupcake smells SO delicious. Though for some reason it had irritated everyone's nose in the house so we couldn't keep it lit anymore.
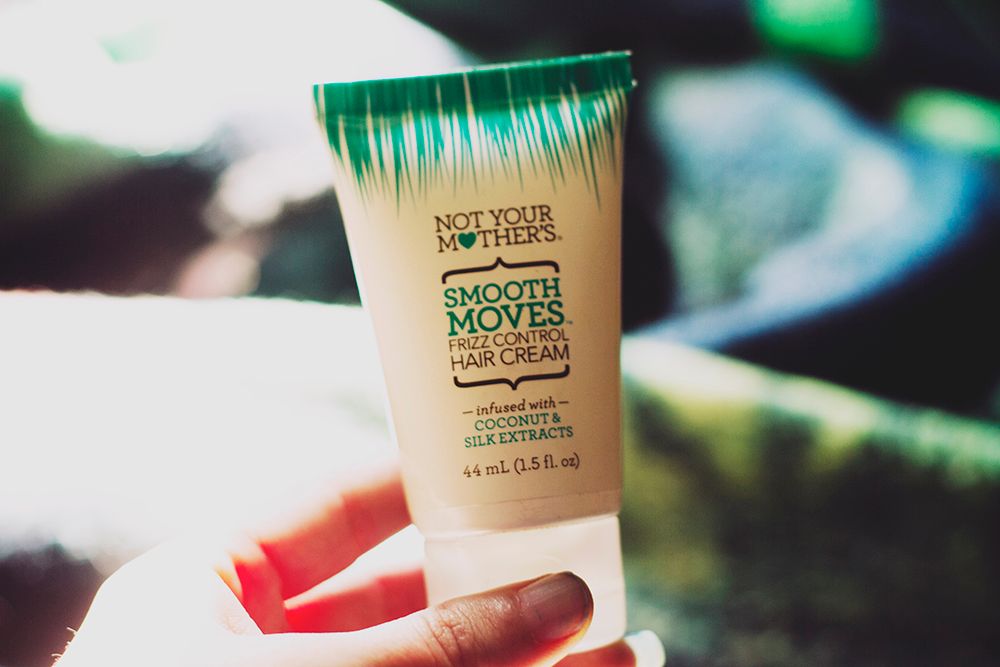
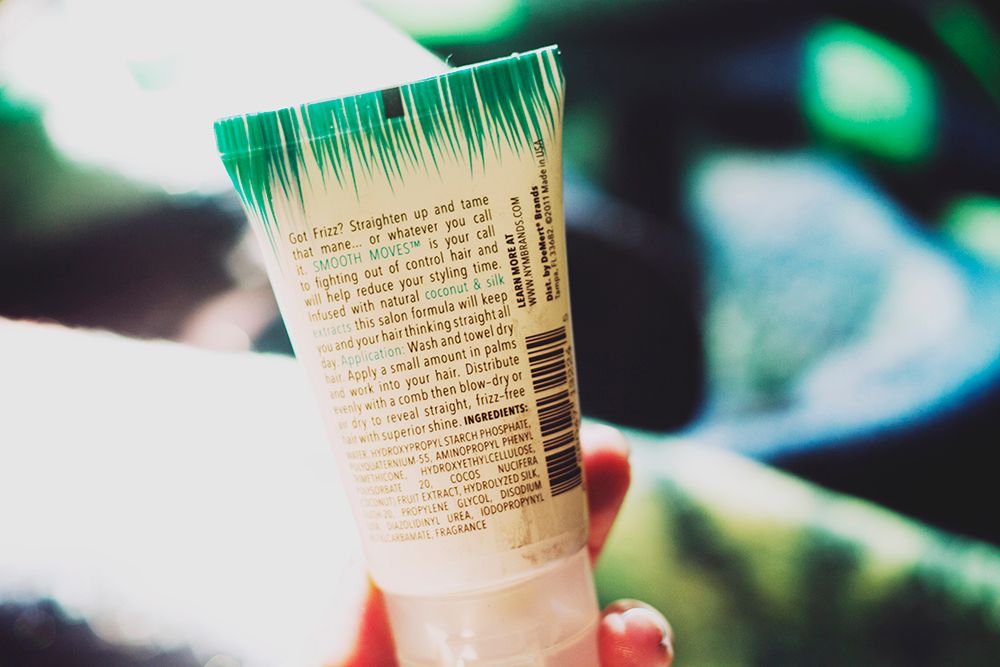
Not Your Mother's Smooth Moves Frizz Control Hair Cream
I generally don't have problems with frizz anymore. I do like using this to keep my hair feeling smooth plus I LOVE coconut. I will be adding a full size of this to my usual products and pick up Kinky Moves. Dying to try that one out!!
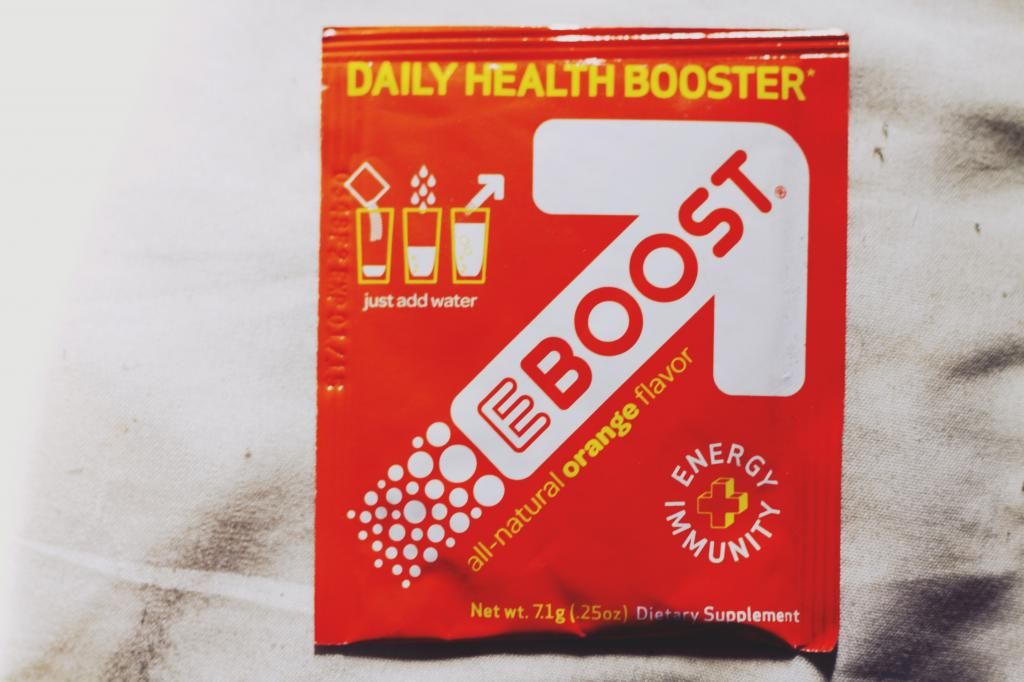 EBOOST Orange
No caffeine for me so here's a picture of it :)
What did you think of this year's beauty blogger voxbox?
*These products were sent to me from Influenster to review ♥
10.17.2012
Review: Manic Panic Rockabilly Blue
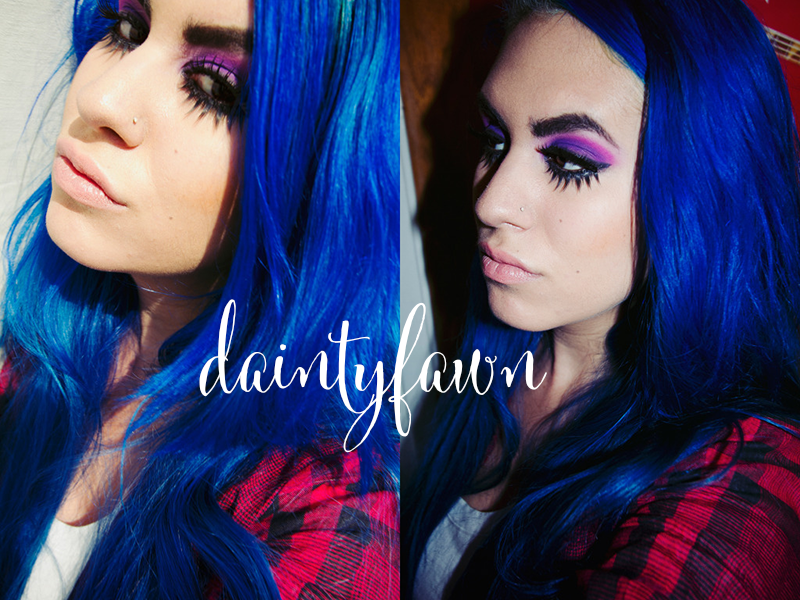
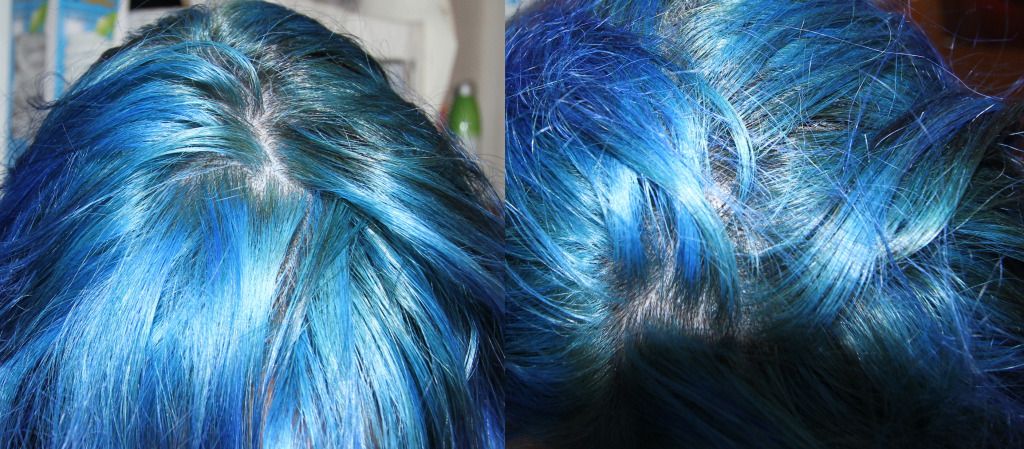
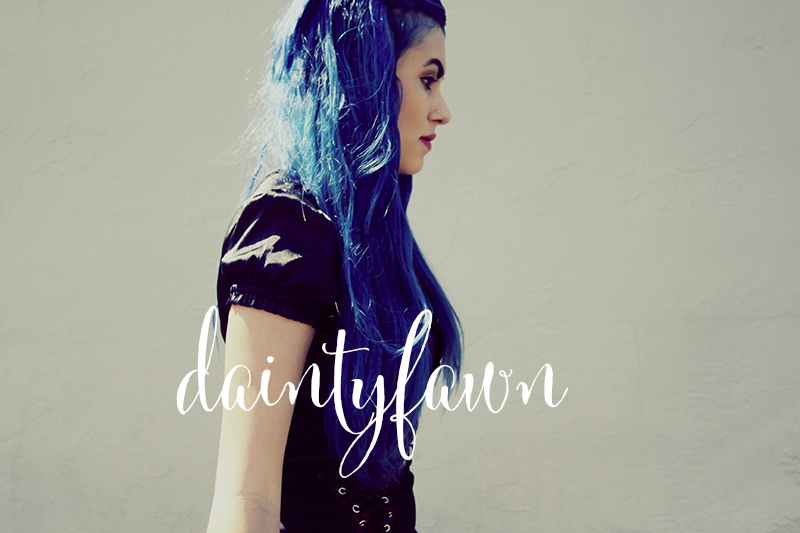
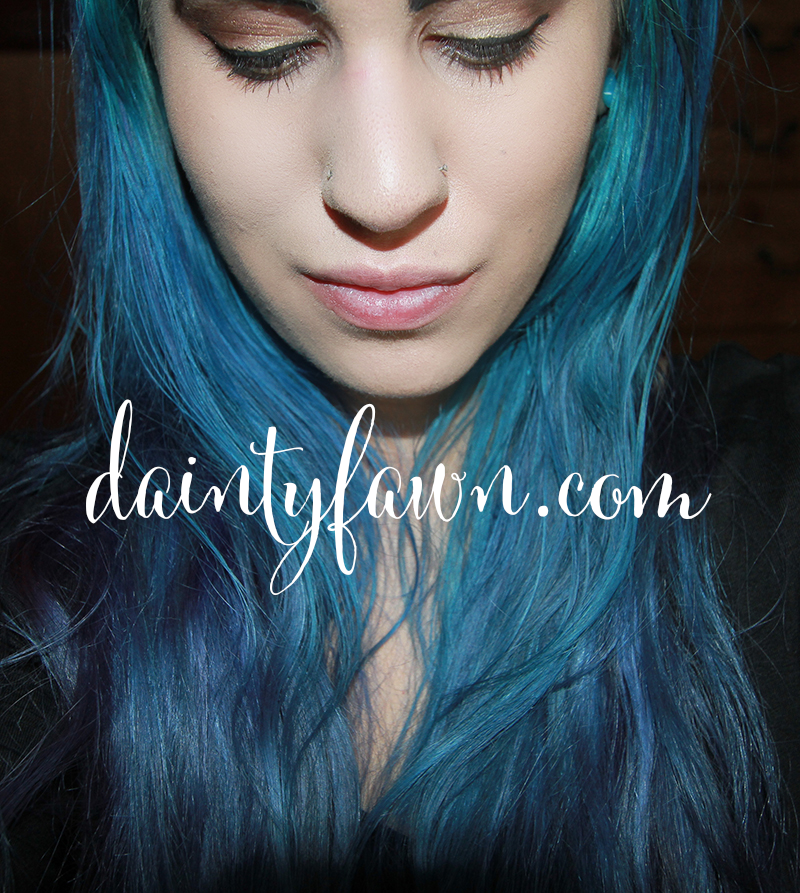
I've had Rockabilly blue for the last three weeks or well, trying to keep it. This is such a GORGEOUS color. I am in love with it but the color bleeding and staining are out of control. I've dyed my hair countless times and didn't really care about it. This dye formula is the absolute worst. They really need to fix it.
 I've only gotten my hair wet once because of how awful the rinsing process is. You have to be extra careful to keep your hair far away from your body or you'll turn into a Smurf! I can't even imagine how it'll be if I used shampoo. Does it strip the color out as much as it bleeds?
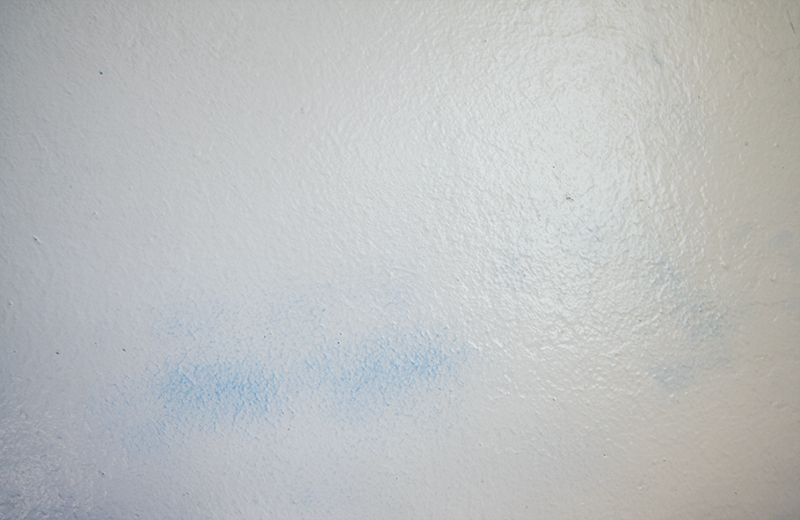
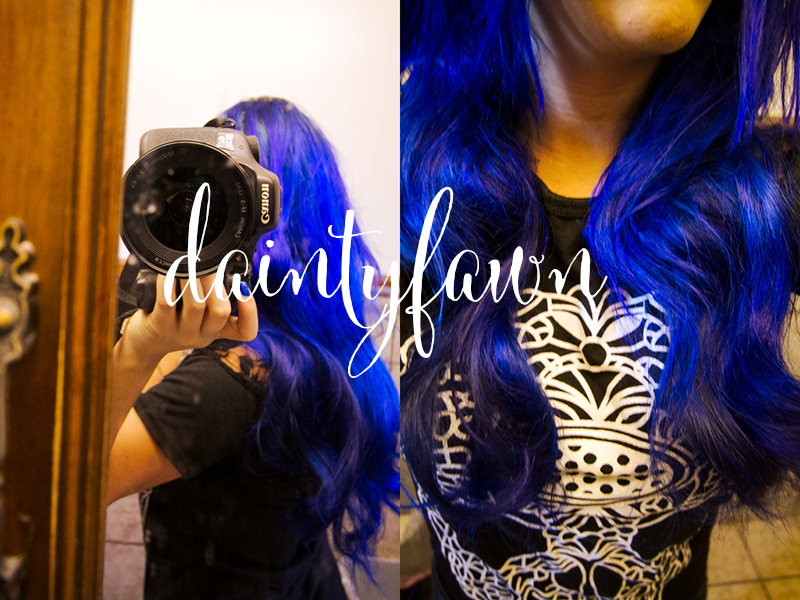
I'm disappointed at how this dye doesn't last at the roots. This photo shows ONE day after it was dyed. It's a much lighter blue and turns green soon. No showers or sun. :(
I've dyed my root area four times in the last few weeks but it's not holding up. Like I said this is a super gorgeous dark blue but this basically sucks if you use it on a full head of hair. Staining is practically not worth it. You can't wear any light colored clothing unless you're prepared for a blue stained collar. I have stained my friend's bathroom/walls and my paper exams at school were covered with blue fingerprints. :(
I've tried Punky's Atlantic Blue once so far. Let's see if this is better!
Edit: I attempted this dye again about 4 years later and I diluted the dye heavily. It was slightly better but it still stained if you weren't careful.
Note: I was forced to put watermarks on my images due to websites and shops stealing my images. I do not give permission for my images to be used to help with advertising products. Do not use. Do not put your watermarks on it.
10.16.2012
Review: Manic Panic Voodoo Blue
This is my first and favorite blue!
I originally had purple hair that I bleached down to a lillac color. Voodoo Blue came out amazing over that base color.
I didn't shampoo while I had this color. It stayed pretty vibrant for 3 months. Color bleeding was minimal for me. I barely had problems with staining the shower, walls or clothing. I'm also prepared by having black pillowcases and black sheets.


Due to summer being crazy hot, my natural oils started to fade the color around my root area. My favorite colors are blues/greens so I personally didn't consider it a grody fading color. It's a good green too btw! Eventually, I bleached my roots yellow intentionally to plop some Voodoo on top. More pictures here!
I recommend this color 100%!
Note: I was forced to put watermarks on my images due to websites and shops stealing my images. I do not give permission for my images to be used to help with advertising products. Do not use. Do not put your watermarks on it.
What's your favorite brand of dye or color? Stay tuned for tomorrow's review :)


Supplies:
❤ worsted yarn
❤ C or D and F hook
❤ optional: yarn needle to weave ends in.
❤ Polyfill
❤ Wool of the Andes worsted weight yarn: Cloud, Red, White & Coal.
(This is tiny yarn! :3)
❤ 9mm safety eyes
-Leave tails so you can weave the parts together!
-Attach the safety eyes where you'll like it to be.
Head C or D hook:
8 sc into ring.
F hook:
Inc around.
*Inc, sc* around
Sc around.
*Sc in next 2sts, inc* around.
Sc around.
(Start stuffing)
*Sc in next 4 sts, dec* around.
Sc around.
*Sc in next 5sts, dec* around.
Sc around
Sc around
*Sc in next 3 sts, dec* around.
*Sc 3x, dec* around
*Sc 2x , dec* around.
*Sc, dec* around. Sc in last st.
Close
Ears
F hook:
Ch 4
Inc around.
Turn. Ch 1, skip a stitch. Sc, inc in middle top once, sc.
Sl st together to form a circle.
Arms
C or D hook:
4 sc into ring.
Sc around.
Sc around.
Sc around.
Sc, dec, sc.
Legs
C or D hook:
4sc into ring.
Sc around.
Sc around.
 Whipped cream
F hook:
Ch 21. Skip once, sc 10x, sl st across in remaining chains. Swirl it and weave together to hold.
Cherry
C or D hook:
Ch 4 into ring. Leave a tail to attach this to the whipped cream.

My adventure to red hair awhile back. It's been a few months since this post.
Warning: Lot's of pics! This was over a year ago and Google basically generated no pictures of the actual dye on hair. Just bottles or tubes of dye. I decided to document the process and results I get!
Products for Bleaching:
Salon Care Prism Lites
Clairol Professional 30 vol developer
The whole process took longer than expected. Apparently, I have thicker hair than someone thought while they were bleaching it :) I rushed to wash it out and planned to bleach the top the next night for 30 minutes considering it wasn't left on long enough.

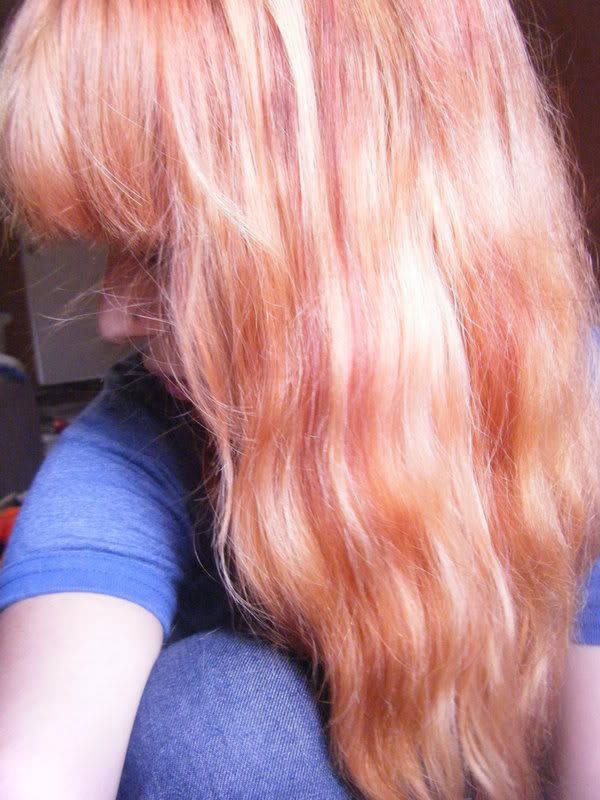
I rocked this look for a few days since Loreal hicolor (for dark hair only) require to be mixed with a developer. A protein conditioner did an amazing job on restoring the condition.
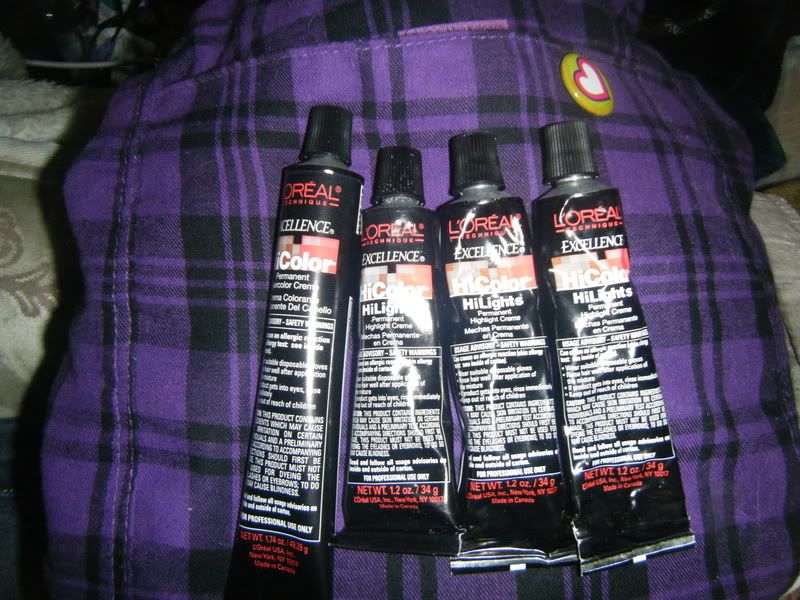
These dyes go fast in Sally's so I had to make do with what was on the shelf!
I mixed two tubes of Magenta, 1 red and 1/2 of Hot Red.
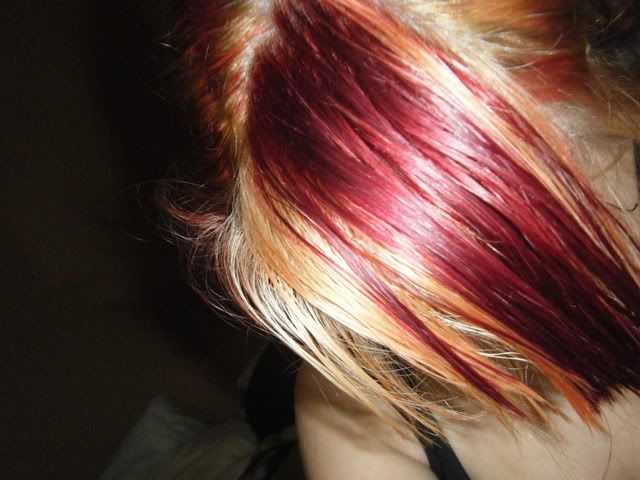
Test strip with 20 volume developer. Looks pretty! I decided to go and use 30 volume developer for the rest. I also put Manic Panic's Electric Lava and Electric Banana in some pieces.


It's pretty intense in the sun! A while afterwards I wanted to do all over red without damage. The reason why I chose Raw's Ruby Red because it's pink based and that way if it faded, it would go on the pink side rather than orange. At the time didn't know if it would match or not but it's actually quite a good dupe for Loreal hicolor Red & Magenta.
Here's my setup!

Bleach with clarifying shampoo mixed in to take out the bright yellow!
Products:
Salon Care Prism Lites (violet)
Clairol Professional 30 vol developer
RAW's White Out toner (not sold separately)
Suave Clairfying shampoo
Equal parts of bleach and developer with 1.5 shampoo + 0.5 of water for dry hair.
(2 parts shampoo for damp)
You can either measure it or just wing it. While this is more gentle than bleach alone, I left it on for 25 minutes because I was a wuss.

Tested Ruby Red on freshly bleached roots and on my bangs for 40 minutes. If you like that look, keep it! I applied again for 2 hours. Oh, hair doesn't have to be white for either of these dyes. It can be a lighter yellow.
Subscribe to:
Posts (Atom)


Social Icons