
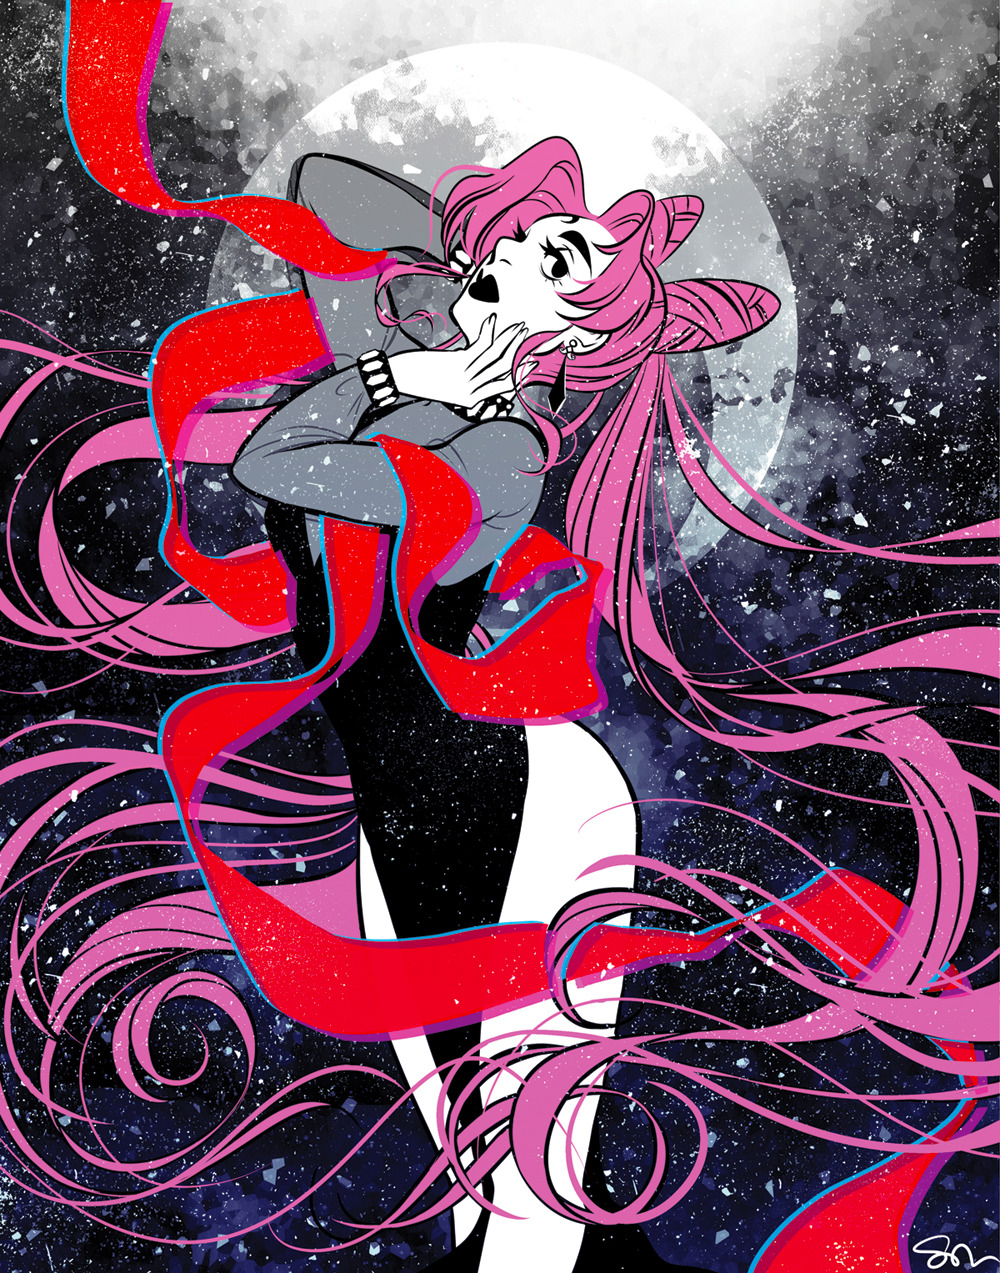
12.10.2015
Black Moon B*tches
I sketch on paper for a minute then spend more time on the computer now. I cut my lineart/coloring time in half so that's a huge improvement. Plus this hand actually looks like one? I think hahah
I don't draw much on paper or computer. It seems I could only make time to start one piece each month and making progress that way just won't work. I've finished about 4 pieces recently and suddenly got inspired to make new ones!
Right now I'm just having fun but I'll like to narrow down a style soon. Something that you could just look at and now it's by me.
12.02.2015
Inversion Hair Growth Method: Round 2

Time has flown by! It's time for another round of the inversion method. I'll be documenting it a bit better with measuring tape. I really wanted to do a video but I'm waiting to get a camera and wide lens first. My phone quality isn't that great in dim lighting. It will definitely happen one day soon! If you are interested in reading about my first round then here's Inversion Hair Growth Method.
11.25.2015
Cute Finds
A thousand wants for this beautiful print.
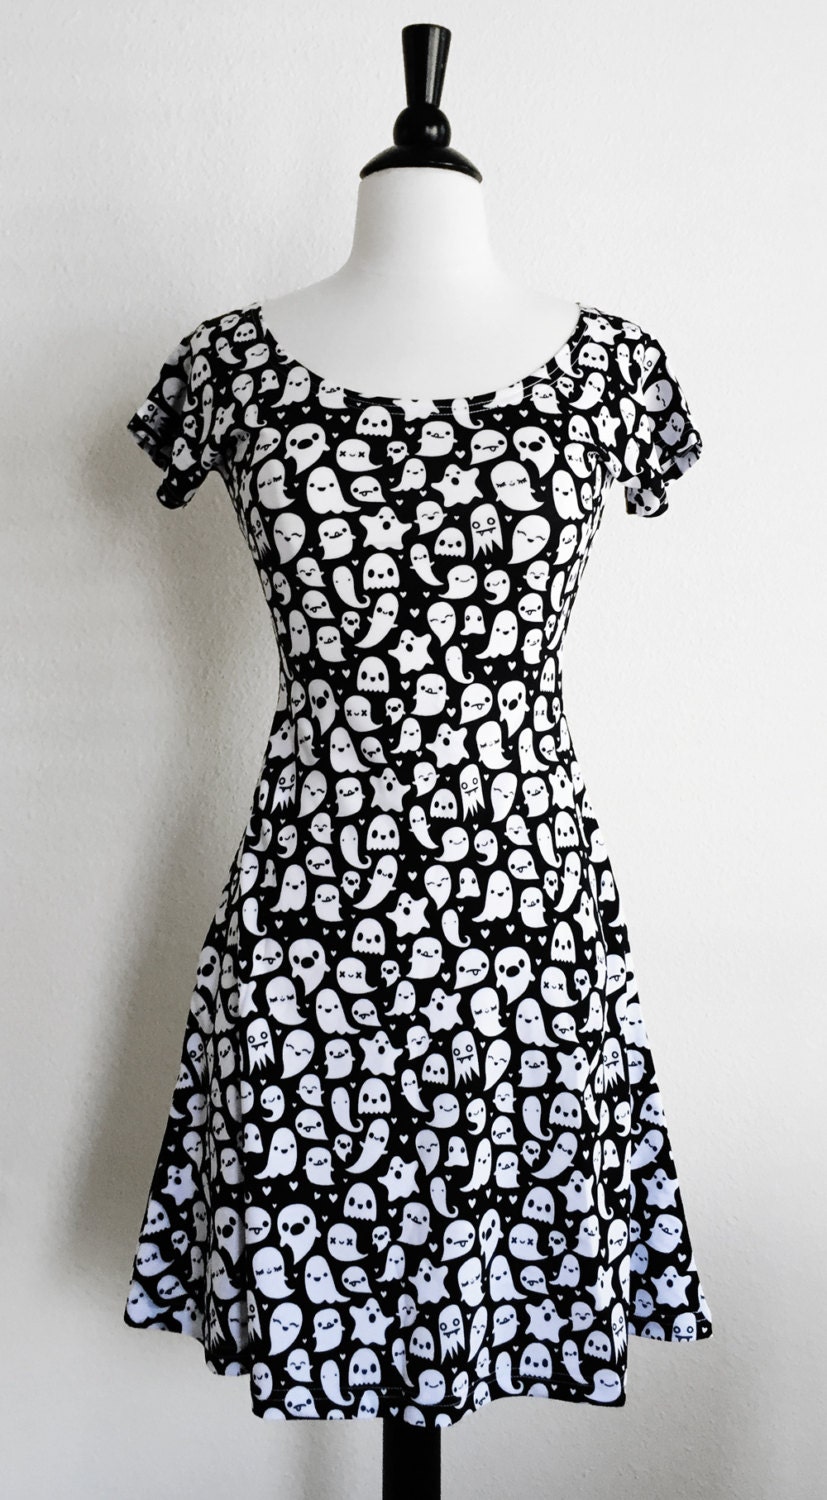
Seriously want this adorable thing but my bank account screams no for now :'D
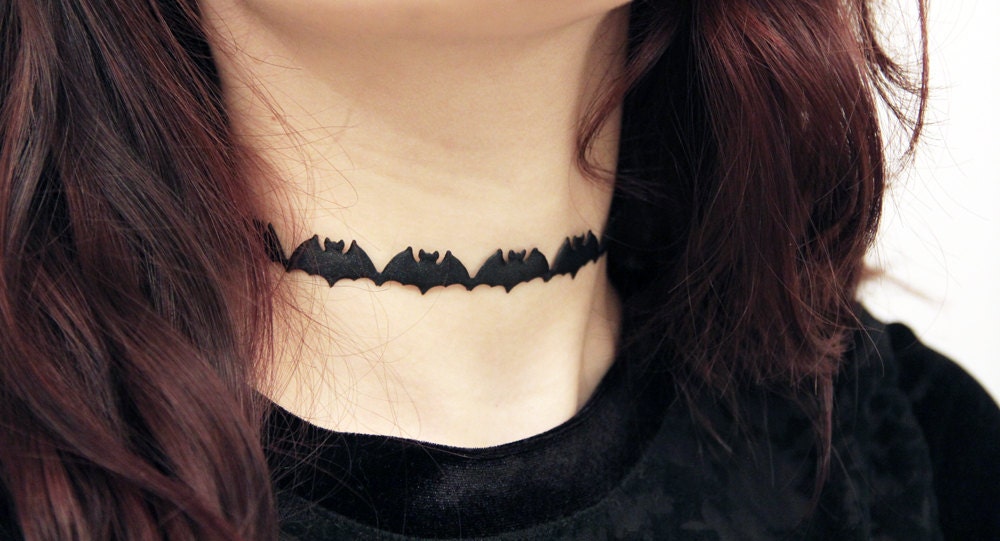
Obviously, I'm into Halloween too late.
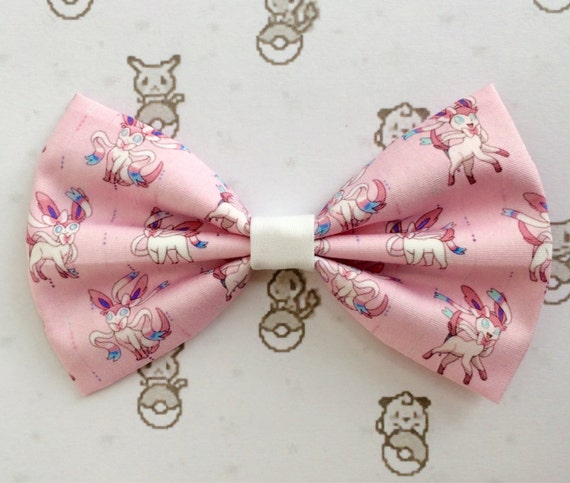
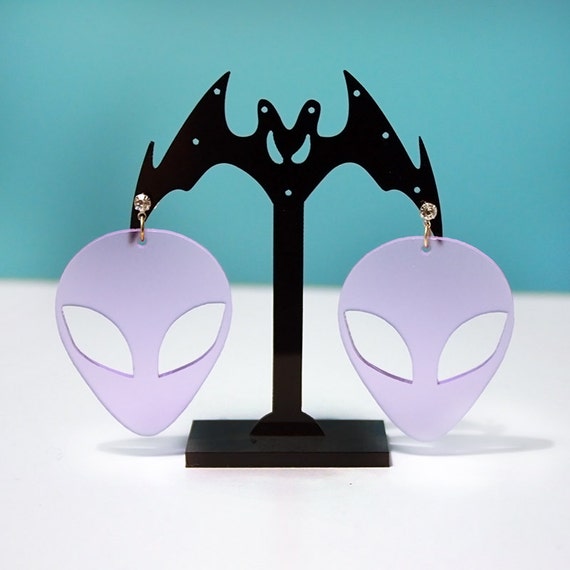
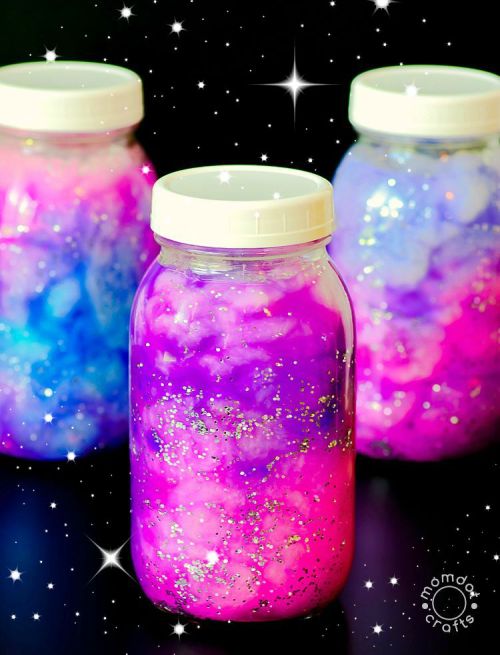
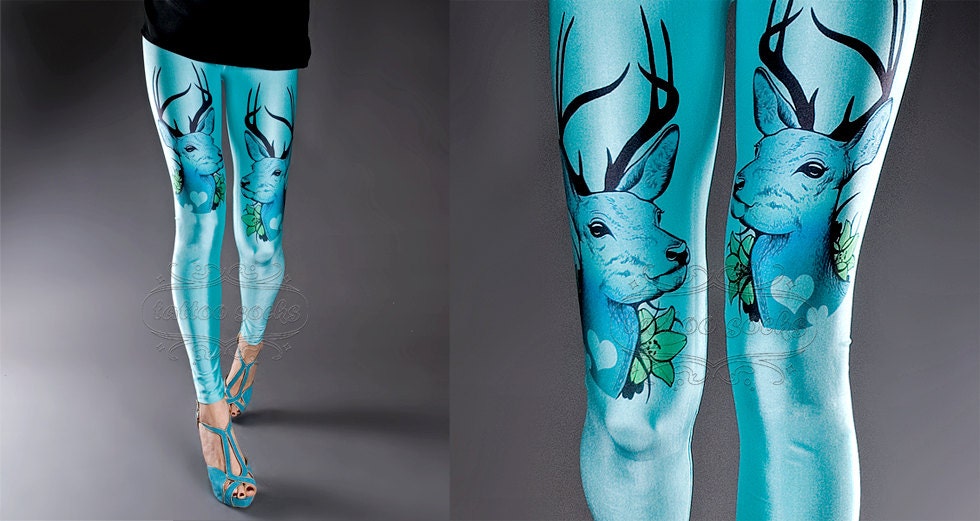
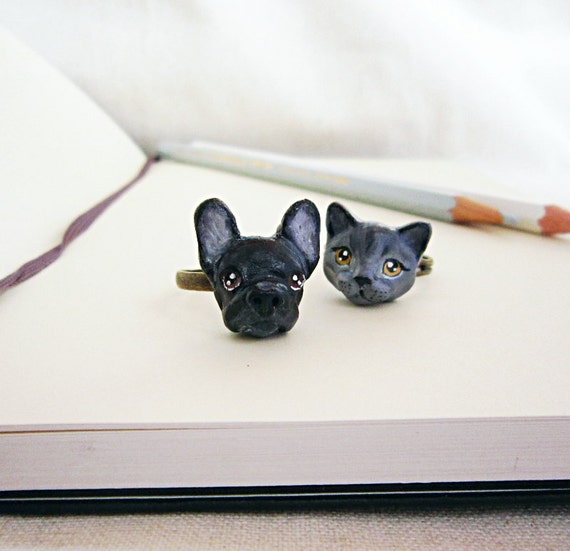


What's your favorite?
11.19.2015
Launching our new store!

My goal was to make the website for our handmade shop, Tiny Moon! Everything is mostly up. Some pages need some extra information and the rest of the products will be added very soon :D I'm really into the simple layout and yassssss that slider!
11.16.2015
Rainbow Blossom Shrug


I started on this a few months ago using 2 different colorways of Red Heart Unforgettable Boutique yarn. This project originally began because I wanted to see how this motif would look like in a rainbow-y yarn and then it just became a shrug. Good for spring when the weather can't make up it's mind.

I got this purple cat brooch from Pony People and wasn't sure how to use it until now. (I need to incorporate crazy cat lady in my designs somehow!)

Since I've been designing more wearables, I'm slowly starting to buy more of the fancy yarns you can get at Michaels (and Knit Picks). It can be hard to justify the cost sometimes but there's been times where I really liked a pattern just because of the fancy yarn. I generally don't splurge on other things (except food because I love you food) so why not yarn every once in a while?

11.11.2015
Inversion Hair Growth Method

I've been growing out my hair for a year now. I did a routine to speed up the process and my pictures are 6 weeks apart in the image below. It was noticeably thicker at the ends but I wanted to try something else: THE INVERSION METHOD. I heard about this method from Halima months ago and tried it once but the oil took out most of my color so I stopped :( It's 7 days so why not now?
10.23.2015
Rebranding: Tiny Moon Etsy

I couldn't do much for #inktober this year. I'm still cleaning up some pieces I've made so I'll share that very soon! I'm venturing into responsive design, Wordpress, WooCommerce and PHP all at once. Like a crazy person. It's eating up most of my time.
Of course the thought of a rebrand came up while I was setting up Wordpress. Tiny Moon will most likely go live first. I'm hoping to add new products, better pictures and soon... art prints! Part of the rebrand made me evaluate everything and I felt like the visual part no longer fit. I didn't want to do minimal anymore. I went out of my comfort zone to use colors and keep it cute with graphics.
Our shop is basically filled up with cute items so why not match it?
Instantly knew I wanted something more cartoon. A soft, round bubble font with at least a small moon and some animal. I was thinking ahead as well: cute animal logo on future packaging.
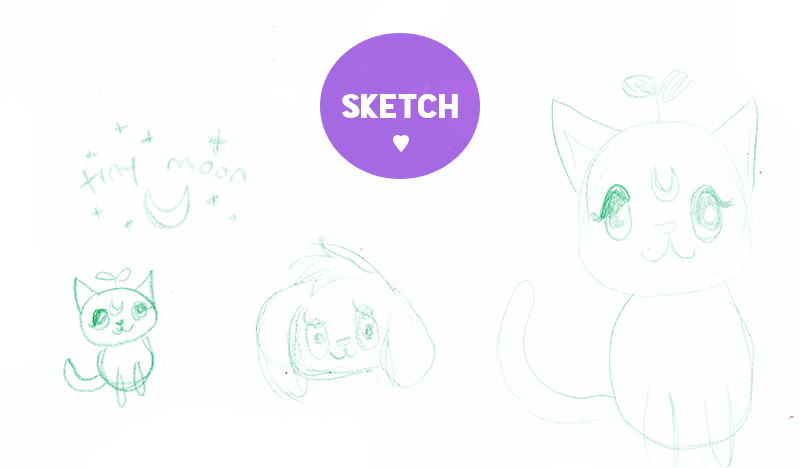
One suggestion for the animal was a fox but this is rather funny: both of us already have foxes in our other shops. You can take a look here & here. That would be too much! I did some quick sketches then scanned it.
Since I'm more of a visual person, I knew I had to draw some up to use as placeholders. (Added a leaf on the cat's head for funsies.) That bottom logo was my original idea from the sketch but it didn't pop for me. I also refused to cop out and stick with the usual white space.

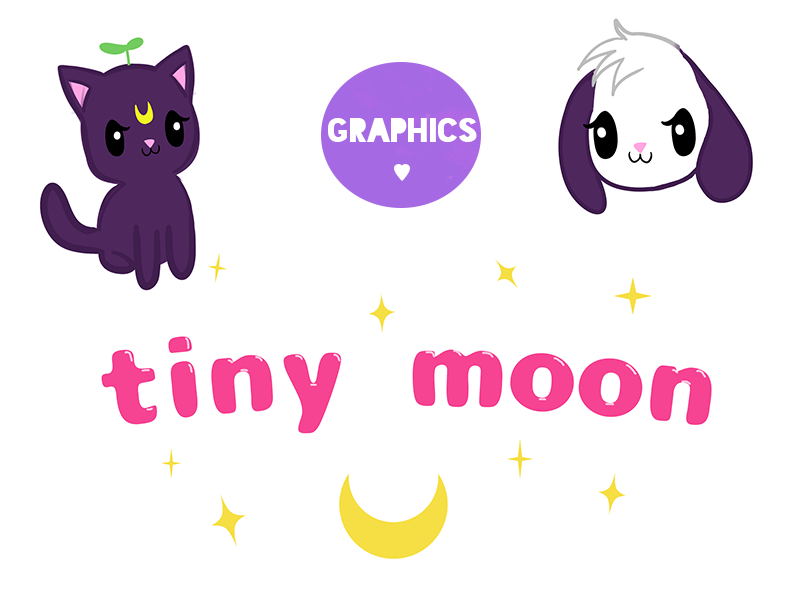
These are the final results. I made various sizes for the shop and social media. Plus using a cute cat as a profile image/avatar is fun.
It took awhile to finally settle on colors. I limited it down to this pastel palette. A thick white stroke was added to make the font and moon stand out. It's definitely still on the simple side but is unlike our previous branding which was mostly white space.
What do you think?

I love wigs and started wearing them about 5 years ago when I shaved my head after my hair turned to poop. It seemed like it was a better idea to start over rather than to salvage the mess. Now my hair is around shoulder length but nearly impossible to style so I still like to wear wigs every once in a while.
This is my second Forever Young Vintage Vixen wig. This one is the color HL4-33, Medium Dark Brown highlighted with Dark Auburn. There is a white house on my right reflecting the sun and making the auburn pop! (Also, check out my Graptoveria Moonglow babies!!)
The first Vintage Vixen wig I got can kinda be seen here in color 2, Dark Brown. For that one, I cut the bangs really short. It's actually still in okay condition years later but I really wanted to get a lighter color and the long bangs again.


It took me a long time to decide on which wig to get because I don't think most sites provide enough photos or even realistic ones. Either the model's wig is heavily styled and/or photoshopped or they only show one model photo and the rest are tiny color swatches. It's also difficult finding customer reviews with photos that aren't taken in a dark room.

This is my second Forever Young Vintage Vixen wig. This one is the color HL4-33, Medium Dark Brown highlighted with Dark Auburn. There is a white house on my right reflecting the sun and making the auburn pop! (Also, check out my Graptoveria Moonglow babies!!)
The first Vintage Vixen wig I got can kinda be seen here in color 2, Dark Brown. For that one, I cut the bangs really short. It's actually still in okay condition years later but I really wanted to get a lighter color and the long bangs again.

This is one of my favorite wigs. It's wavy with long layers, not too thick or thin, not too shiny for synthetic fibers, and it looks natural. Also the colors are so pretty! This is a perfect wig to wear every day.


The photo on this tag is the photo that was originally on the websites for this wig but it seemed it has been replaced by a new one. Just the overall style of this photo was what made me want to get this wig actually. You can style the bangs like shown there but I wouldn't recommend it because it's not comfortable getting stabbed in the eyes!

Do you have any favorite wig brands or shops? I've tried some other Forever Young brand wigs that I might post later. I also bought some $20 cosplay ones from eBay before but the quality isn't as good. They turn into a rat's nest quickly.
10.07.2015
Forgotten Floral Dress
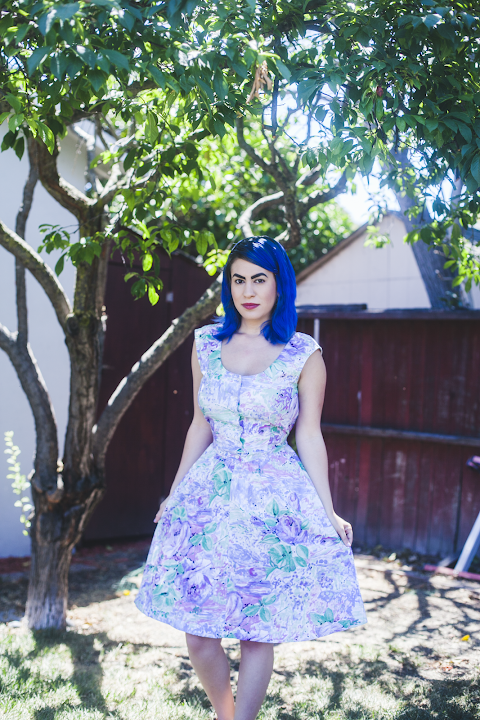
One of my forgotten outfits from summer. I never really got the chance to wear this dress out before I sold it. I went a little crazy buying floral dresses off of instagram years ago. I'm down to my last pile for ebay and it's exciting to get rid of everything so I can have money for new things to wear.
9.30.2015
Vintage Planters

My little vintage collection started with this pink cat planter:
And then I got her a blue friend:

And after those, I kept buying more. I can't remember how I got into buying them exactly. The idea of having my own little thing... a garden of cute, maybe? I filled some of them with succulents for a while.

Pink lamb with a cart.

Baby elephant with a flower, which inspired this doodle:

And there's more!

Another lamb! I really love the flower design on this one. I actually wanted a blue flower one but couldn't find one at a more affordable price at the time.

Just everything about this is perfect.

And I found a matching kitty!

Interesting clown-ish bear (?) design haha... I like the embossed details.

This was one of the more simplistic pony designs I found at the time, thought it was unique!


I keep thinking how awesome it'd be if they still made these sort of designs. I can't quite find anything like these in stores, either just regular pots or basic handmade sort of types.
If you want to get some similar looking vintage planters, look up brands Enesco, Napocoware, & Replo on Etsy! Or stalk some instagram vintage shops, usually found under #vintageplanter or #vintagejapan. I can't think of any in particular because I had to unfollow them a long time ago so I'd stop spending so much money ;)
9.29.2015
Jewelry for Mermaids

I'm excited to share my newest sponsor from Etsy. This is Christine from Florida Shell Girl who is a seashell designer! These jewelry pieces are really making me miss summer and the beach already. I actually haven't seen anything like these before
9.27.2015
Tiny Owl Amigurumi Crochet Pattern


Crochet a tiny owl amigurumi (or penguin)! It only takes about 2 hours to make.

Materials:
• Worsted weight yarn in purple, white, and orange. (I used Vanna's Choice Baby and Red Heart Super Savers)
• Pair of 9mm safety eyes
• Stuffing
Tools:
• B/2.25mm hook
• Yarn needle
Size:
• Approximately 3.5"(9cm) tall. Results will vary depending on your tension and your yarn & hook choice.

Head:
With purple yarn,
R1: 6 sc into magic ring. (6 sts)
R2: 2 sc in each st around. (12 sts)
R3: *2 sc in st, sc in next st* rep to end. (18 sts)
R4: *2 sc in st, sc in next 2 sts* rep to end. (24 sts)
R5: Sc in 8 sts. Change to white yarn, sc in next 3 sts. Change to purple yarn, sc in 3 sts. Change to white yarn, sc in next 3 sts. Change to purple yarn, sc in 7 sts. (24 sts)
R6-7: Sc in 8 sts. Change to white yarn, sc in next 9 sts. Change to purple yarn, sc in 7 sts. (24 sts, 2 rounds)
Put the safety eyes between R7-8, 2 stitches away from the edge with 5 sts in between.
Start stuffing.
R8: *Sc2tog, sc in next 2 sts* x2. Change to white yarn, sc2tog, sc in 2 sts, sc2tog, sc in next 3 sts. Change to purple yarn, sc2tog, sc in 2 sts, sc2tog, sc in st. (18 sts)
R9: *Sc2tog, sc in next st* x2. Change to white yarn, sc2tog, sc in st, sc2tog, sc in next 2 sts. Change to purple yarn and fasten off white yarn, sc2tog, sc in st, sc2tog. (12 sts)
Finish stuffing.
R10: *Sc2tog, sc in next st* around. (8 sts)
Fasten off, leaving a tail.
Beak:
With orange yarn, stitch on the beak over the center stitch on R8.
Ears (Make 2):
Leave a tail at the beginning for sewing.
With purple yarn,
R1: Ch 4, sk first ch, sc in next 3 ch. Ch 1, turn. (3 sts)
R2: Sc3tog. (1 st)
Fasten off and weave in the end. Using the beginning tail, sew the ears onto R3-4 on the head.
Body:
With purple yarn,
R1: 6 sc into magic ring. (6 sts)
R2: 2 sc in each st around. (12 sts)
R3: *2 sc in st, sc in next 2 sts* rep to end. (16 sts)
R4: Sc in each st around. (16 sts)
R5: *Sc2tog, sc in next 2 sts* rep to end. (12 sts)
R6: *Sc2tog, sc in next st* rep to end. (8 sts)
R7: Sc in each st around. (8 sts)
Stuff. Fasten off, leaving a long tail for sewing. Sew the head onto the body.
Wings (Make 2):
With purple yarn,
R1: 5 sc into magic ring. (5 sts)
R2: Sc in each st around. (5 sts)
R3: *Sc2tog* x2, sc in st. (3 sts)
R4: Sc in each st around. (3 sts)
Don't stuff. Fasten off, leaving a long tail for sewing. Sew onto the sides of the body on R7.
Feet (Make 2):
With orange yarn,
R1: 6 sc into magic ring. (6 sts)
Fasten off, leaving a long tail for sewing. Sew onto the sides of the body on R3-R4.

The pattern is easy to make into a penguin. Here are some things to change:
1. To make the color change on the head to be more of a point, change R6 to this:
Sc 8, change to white yarn, sc in next 8 sts. Change to purple yarn, sc in next st. change to white yarn, sc in next 8 sts. Change to purple yarn, sc in 7 sts. (24 sts)
2. Make a rounder beak such as 6-7 stitches into a magic ring or using a small piece of felt.
3. Omit the ears.
4. Add white to the front of the body by switching to white yarn in the middle of the rounds for about 4-6 stitches (depends on how narrow the body is). As you get to the last rounds, do one less white stitch on each side to taper it.
© Adorably Kawaii. Pattern is for personal use only. Please don't redistribute/resell the pattern in any way or form.
Subscribe to:
Posts (Atom)


Social Icons