
6.30.2013
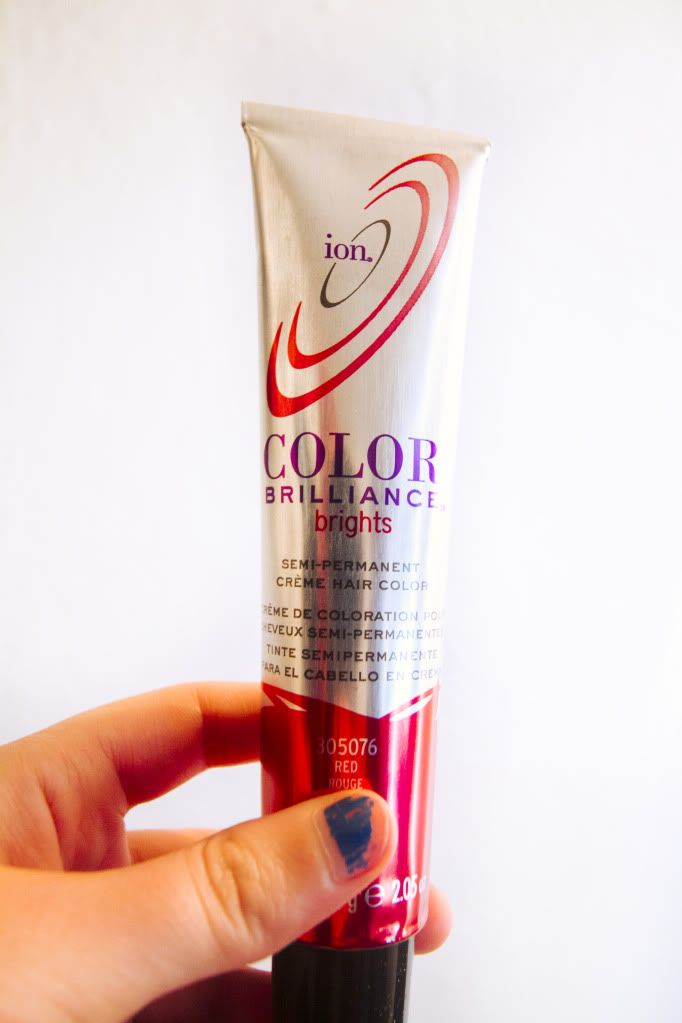
Ion Brights Review (Red)
Ion Brights is an inexpensive semi permanent dye. It's around 5 bucks for a whole tube. You don't mix developer with this! It's all ready to go. The dye isn't all that creamy by itself. It's much easier to apply if you mix a bunch of conditioner in it. It will dilute it but as long as you don't see a drastic change of color in the mixing bowl, it'll pretty much be the same color. Probably start off brighter :)
I love that I could spend $15 for 3 of these tubes compared to Manic Panic's $9-$13 per jar. I ended up using a tube and a half for my whole head! This color bled out every time I washed my hair (no shampoo!) and while it didn't stain my face or fingers as badly as other dyes, it definitely stains sinks. Have a soft scrub ready or be prepared to bleach yo sinks.
I read other's experiences first and a couple of people said that you should leave this dye in for at least 3 hours. Most of these semi permanent dyes have instructions that say to leave it in for 20 minutes but NEVER do that. More is better in this case. Sometimes the color needs hours to take in and hold. Remember you could always leave veggie dyes in and wrap your hair up overnight for a wonderful bright surprise. Other times you may need a second dye session to get the results you want.

The red started off as this gorgeous dark color. In a matter of a few days it had faded on it's own. Basically it got brighter without being shampooed, wet or hanging out in the sun. In under two weeks I had that hotpink hair. Redyed the red a couple of more times and experimented with/without conditioner washes but it always faded at the same rate. It's not a completely bad thing since you still get a vibrant color, it's just not the dark red that I wanted!
I personally prefer red dyes that fade on the orangey side. So this dye gets a 3 out of 5 from me. It's still a pretty good dye for that awesome brightness and if you prefer that pinky red, then this color is for you. You'll have two colors in ONE! This may be considered a cheaper alternative to RAW's Ruby Red but this is definitely a brighter pink. I don't know if it fades anything beyond that since it stayed bright for me. I wonder if it can go pastel or peachy?
What's your favorite red dyes?
I think mine will always be Loreal's Hicolor :D
6.02.2013
How to Design Your Own Amigurumi

This is a basic step by step guide on how to create your own amigurumi. I have plans to make amigurumi design progress videos soon since some people learn better from those.
1. Crochet Basics
Practice getting your tension/gauge just right. Use different yarn weight and hook sizes to find what is best for you. You need to make sure your stitches are even and tight enough that stuffing isn't showing through.
Being familiar with your gauge can also help you decide what yarn weight and hook size to use to create an amigurumi of a certain size.

Practice single crochet, working in front loops only, working in the back loops only, increasing, decreasing, working in rows, working in spiral rounds, and working in joined rounds.
2. Basic Shapes

Look up how to create basic shapes. Following an exact pattern isn't necessary, you just need to understand the construction.
For example to make a sphere or circle: You need to increase evenly around until it's about as wide as you want it to be. Then you crochet even (just single crochet rounds, no more increases) until it's a few rounds from the height you want it, and then you decrease evenly around.
3. Sketch Your Ideas

Now it's time to get your ideas on paper. Your sketch will need to be simplified to basic shapes that you can crochet. Keep note of how big you want it to be, colors, materials/techniques you'd like to use, and such. I recommend drawing it out on another piece of paper in the size you'd like to make it so you can use it as a reference as you crochet along.
4. Advanced Techniques

After you figure out what you want to make, you might want to add in a special feature that may require using a more fancy stitch. Look up more complex stitches and advanced techniques such as tall stitches (double crochet, treble crochet), decorative stitches (popcorn stitch, surface crochet), color changes, and embroidery.
5. Crocheting Your Prototype

Start crocheting up your idea. This is just a test so it's okay if it's not 100% perfect or you're not exactly sure what you want. You can redo it later and make modifications to your pattern. Experiment, do deviate from the norm, and you'll be designing your own amigurumi in no time.
Made in June 2013.

1. Crochet Basics
Practice getting your tension/gauge just right. Use different yarn weight and hook sizes to find what is best for you. You need to make sure your stitches are even and tight enough that stuffing isn't showing through.
Being familiar with your gauge can also help you decide what yarn weight and hook size to use to create an amigurumi of a certain size.
Practice single crochet, working in front loops only, working in the back loops only, increasing, decreasing, working in rows, working in spiral rounds, and working in joined rounds.
2. Basic Shapes
Look up how to create basic shapes. Following an exact pattern isn't necessary, you just need to understand the construction.
For example to make a sphere or circle: You need to increase evenly around until it's about as wide as you want it to be. Then you crochet even (just single crochet rounds, no more increases) until it's a few rounds from the height you want it, and then you decrease evenly around.
3. Sketch Your Ideas
Now it's time to get your ideas on paper. Your sketch will need to be simplified to basic shapes that you can crochet. Keep note of how big you want it to be, colors, materials/techniques you'd like to use, and such. I recommend drawing it out on another piece of paper in the size you'd like to make it so you can use it as a reference as you crochet along.
4. Advanced Techniques
After you figure out what you want to make, you might want to add in a special feature that may require using a more fancy stitch. Look up more complex stitches and advanced techniques such as tall stitches (double crochet, treble crochet), decorative stitches (popcorn stitch, surface crochet), color changes, and embroidery.
5. Crocheting Your Prototype
Start crocheting up your idea. This is just a test so it's okay if it's not 100% perfect or you're not exactly sure what you want. You can redo it later and make modifications to your pattern. Experiment, do deviate from the norm, and you'll be designing your own amigurumi in no time.
Made in June 2013.
Subscribe to:
Posts (Atom)


Social Icons