
8.31.2015
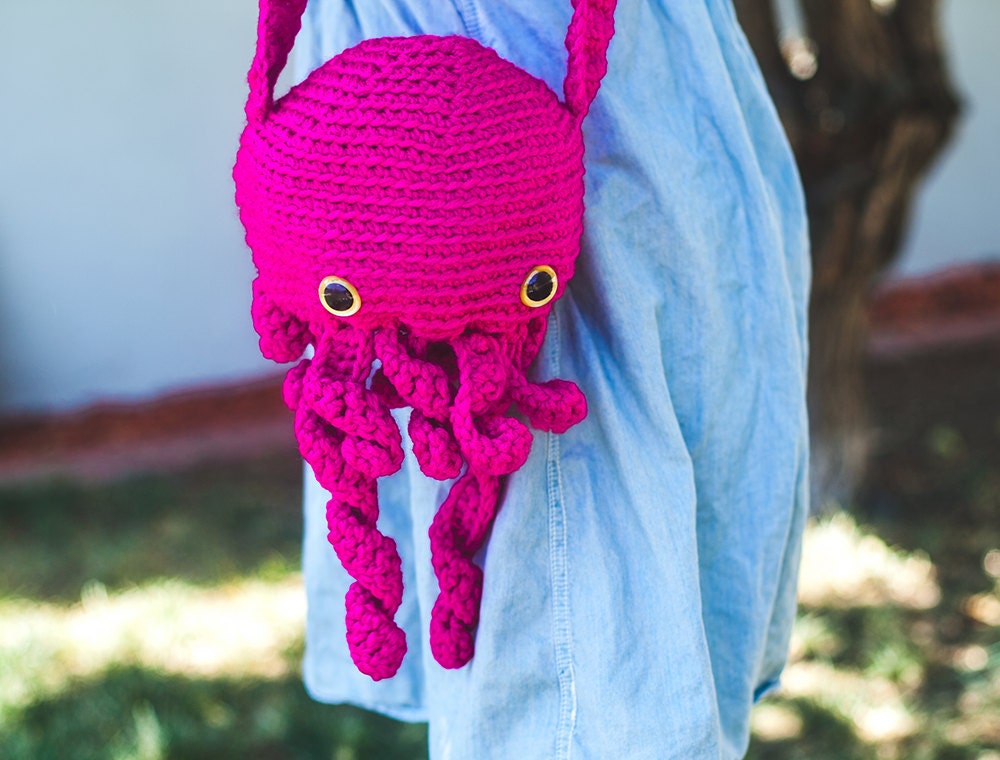
Squid Amigurumi Bag
This one is sturdy and keeps it's shape better because the yarn is held double and it also has a crocheted lining. It's big enough to hold small toys, a phone, monies, keys, and whatever else you can't fit into your jean pockets.

I was wondering how it'd look if I made a bigger one and then figured I might as well make it into a bag (for more practical use!)


8.24.2015
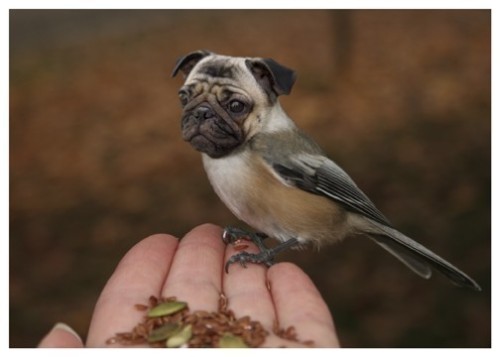
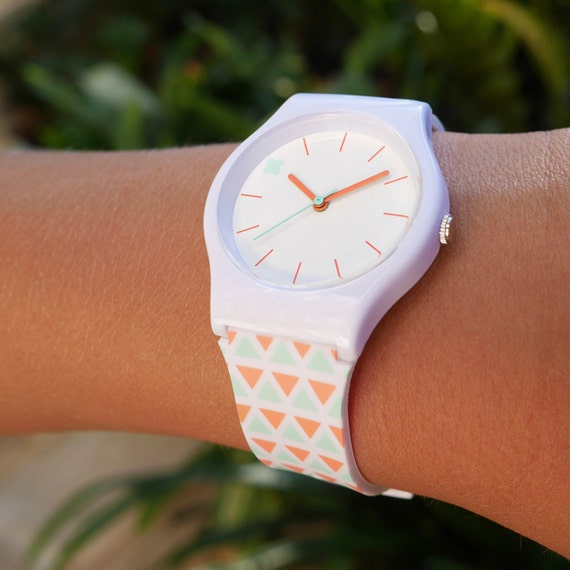
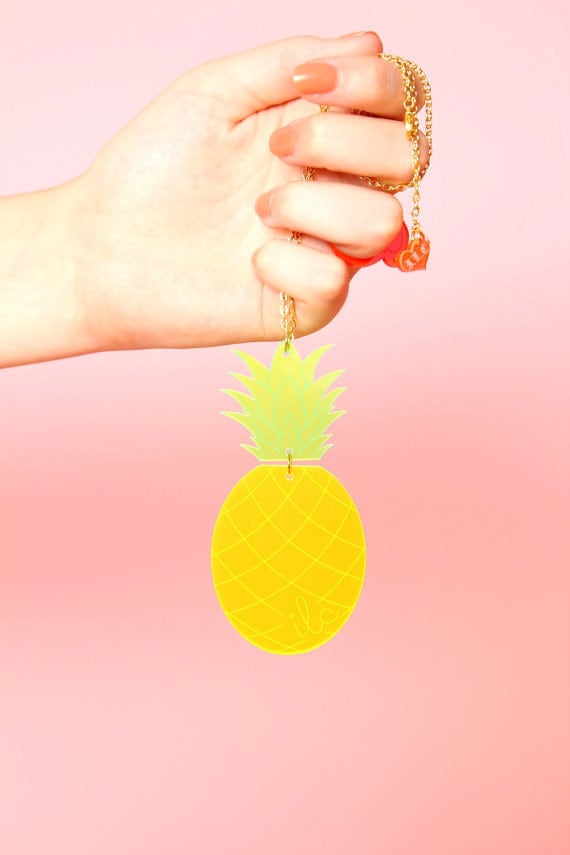
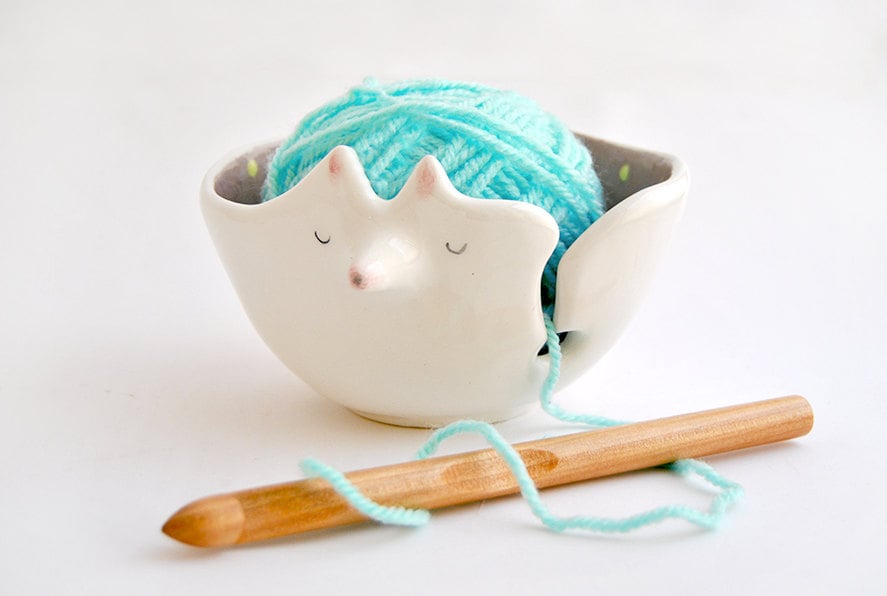
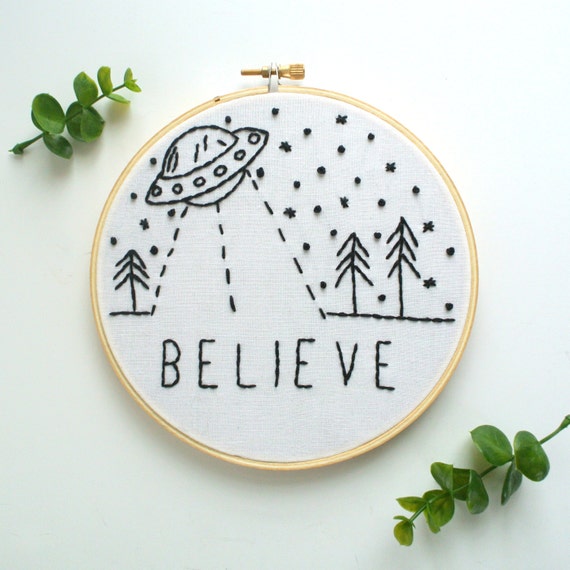
Cute Finds


8.19.2015
Arctic Fox Dye

This is the first time I've used Arctic Fox for dye! I've heard of this brand before and decided to use it for my next colors. It's a great option for cheaper dyes plus 15% of their profits go towards preventing animal abuse.


I didn't really pay attention to the sizes and assumed the large size was regular. Virgin Pink is DOUBLE the size of what you normally get with Manic Panic and Special Effects bottles at the same price ($13.99) Aquamarine is the usual size at 4 fl oz but much cheaper at only $7.99!
BUYS ALL THE COLORS.


This is diluted Virgin Pink with diluted Aquamarine. I mixed both together to create those lavender sections. It's crazy how vibrant the pink is even with the added conditioner. I kept it unwashed for about a week and then started to shampoo some of it out. I like a dull pastel pink more than vibrant on me.
A little update: Last few days made me realize I need to get back into a healthier routine. I had these terrible stomach pains that made me think of appendicitis, infection or muscle strain. I couldn't bend over much and now it's gone this morning. I'm not sure what it was because I had no other symptoms, sickness or fever. Definitely going to take it easy for the week.
8.13.2015
How To Fade Haircolor Fast

I'm sharing this fading treatment I did to remove most of the color out! The blue was created with 3 different dyes awhile back and hasn't budged. I only had an issue with fading near my roots and ran out of dye so I thought why not go back to pastels?
I have a post about how to keep color long lasting. I needed to lift this quickly before bleaching because walking around with weird uneven colors is a nope.
Here's what I used:

Color Fading Mask:
2-6 capsules of Vitamin C powder
1/2 cup of clarifying shampoo
1.5-2 teaspoons coconut oil
2 tablespoons olive oil
1/2 teaspoon of baking soda (or more)
Additional Add In's:
1-2 tablespoons of 10-30 volume developer
1-2 tablespoons of 10-30 volume developer
Dish soap
1 tablespoon honey
Anti-dandruff shampoo
The baking soda should dissolve first with a small amount of warm water otherwise it'll foam up the whole bowl. Vitamin C can give some people reactions from it so start off small like 2 or 3 capsules. I use the capsules I can twist or cut open. There's also pills you can crush up with a spoon. Mix it into the shampoo and apply onto dry hair.
The baking soda should dissolve first with a small amount of warm water otherwise it'll foam up the whole bowl. Vitamin C can give some people reactions from it so start off small like 2 or 3 capsules. I use the capsules I can twist or cut open. There's also pills you can crush up with a spoon. Mix it into the shampoo and apply onto dry hair.
I added the oils to help condition AND also pull out color. Never use oils on freshly dyed hair. I left mine in for a hour or two. I kind of lost track of time. If you use developer in your mixture then limit it to under a hour .

Use a conditioning mask with protein and no sulfates. Avoid using shampoo especially if it contains sulfates because the dryness will double!
Vinegar rinse is ideal because it'll help restore the pH of your hair. Mix some into a bowl of good conditioner and keep it on your head for a few minutes then rinse with cold water.
Products that have silicones will coat your hair and give you a smoother texture. Think Aussie's 3 Minute Miracle.

Now it's onto fading hair extensions! It's going to be difficult to get this color out without damage. I did vitamin C masks twice and used the recipe above. It faded a few shades.
I don't recommend doing this if you can help it. I personally don't want to spend hundreds on a new set and I'm aware of the possible results.
Vinegar rinse after each mask. It's important that you do this delicately and make sure it won't get ratty while it dries. Never try to brush while it's wet or even slightly damp.

I left coconut oil on these for 6 hours before putting diluted bleach on it. This is after one bleaching session. Green is pretty stubborn!

I did another bleaching session with VERY diluted bleach and left it on for under 20 minutes:

It was mostly blonde with pale green. The colors I'm putting on will cover so it's fine. I did trim the ends and the extensions are thinner than before. This will most likely happen if you do it too!
Similar posts:
Fading + Bleaching Aftercare
Red to Teal without bleaching
How To Safely Bleach Your Hair With Coconut Oil


Crochet a small penguin amigurumi keychain or ornament! It only takes about a hour to make.

Materials:
• Worsted weight yarn in pink, white,
and orange. (I used Vanna's Choice
Baby and Red Heart Super Savers)
• Pair of 9mm safety eyes
• Keychain
• Stuffing
Tools:
• B/2.25mm hook
• Yarn needle
Size:
• Approximately 2.5"(6cm) tall. Results
will vary depending on your tension and
your yarn & hook choice.

Head & Body:
R1: 6 sc into magic ring. (6 sts)
R2: 2 sc in each st around. (12 sts)
R3: *2 sc in st, sc in next st* rep to end. (18 sts)
R4: *2 sc in st, sc in next 2 sts* rep to end. (24 sts)
R5: Sc in 6 sts. Change to white yarn, sc in next 4 sts. Change to pink yarn, sc in 3 sts. Change to white yarn, sc in next 4 sts. Change to pink yarn, sc in 7 sts. (24 sts)
R6: Sc in 6 sts. Change to white yarn, sc in next 5 sts. Change to pink yarn, sc in st. Change to white yarn, sc in next 5 sts. Change to pink yarn, sc in 7 sts. (24 sts)
R7-9: Sc in 6 sts. Change to white yarn, sc in next 11 sts. Change to pink yarn, sc in 7 sts. (24 sts, 3 rounds)
Put the safety eyes between R8 and R9, 3 stitches away from the edge.
Start stuffing.
R10: Sc2tog, sc in next 2 sts, sc2tog. Change to white yarn, *sc in 2 sts, sc2tog* x2, sc in next 3 sts. Change to pink yarn, sc2tog, sc in next 2 sts, sc2tog, sc in st. (18 sts)
R11: Sc2tog, sc in next 2 sts. Change to white yarn, *sc2tog, sc in next st* x3. Change to pink yarn, sc2tog, sc in st, sc2tog. Change to white yarn and fasten off pink yarn. (12 sts)
Finish stuffing.
R12: *Sc2tog* around. (6 sts)
Fasten off, leaving a tail. Thread yarn onto yarn needle and insert the needle through the front loop of each stitch. Pull the tail tight and weave in the end.
Beak:
With orange yarn,
R1: Ch 5, sl st into beg ch to join. (5 sts)
Fasten off, leaving a long tail for sewing. Sew onto center of face onto R7-8.
Wings (Make 2):
With pink yarn,
R1: 6 sc into magic ring. (6 sts)
R2: 2 sc in first st. The rest of the stitches are left unworked. (7 sts)
Sl st in next st. Fasten off, leaving a long tail for sewing. Sew onto the sides of the body on R7.
Feet (Make 2):
With orange yarn,
R1: 4 sc into magic ring. (4 sts)
Sl st in next st. Fasten off, leaving a long tail for sewing. Sew onto the bottom of the body on R11-R12.
With orange yarn,
R1: 4 sc into magic ring. (4 sts)
Sl st in next st. Fasten off, leaving a long tail for sewing. Sew onto the bottom of the body on R11-R12.
Keychain Loop:
Hold the penguin facing you and insert hook through a stitch on the top of the head between R1 and R2 on the right side. Pull the pink yarn through and chain about 30. Put the keychain onto this loop. Then insert hook through a stitch on the top of the head between R1 and R2 on the left side and sl st. Tie a knot and weave in all the ends.
Hold the penguin facing you and insert hook through a stitch on the top of the head between R1 and R2 on the right side. Pull the pink yarn through and chain about 30. Put the keychain onto this loop. Then insert hook through a stitch on the top of the head between R1 and R2 on the left side and sl st. Tie a knot and weave in all the ends.

© Adorably Kawaii. Pattern is for personal use only. Please don't redistribute/resell the pattern in any way or form.

Subscribe to:
Posts (Atom)


Social Icons