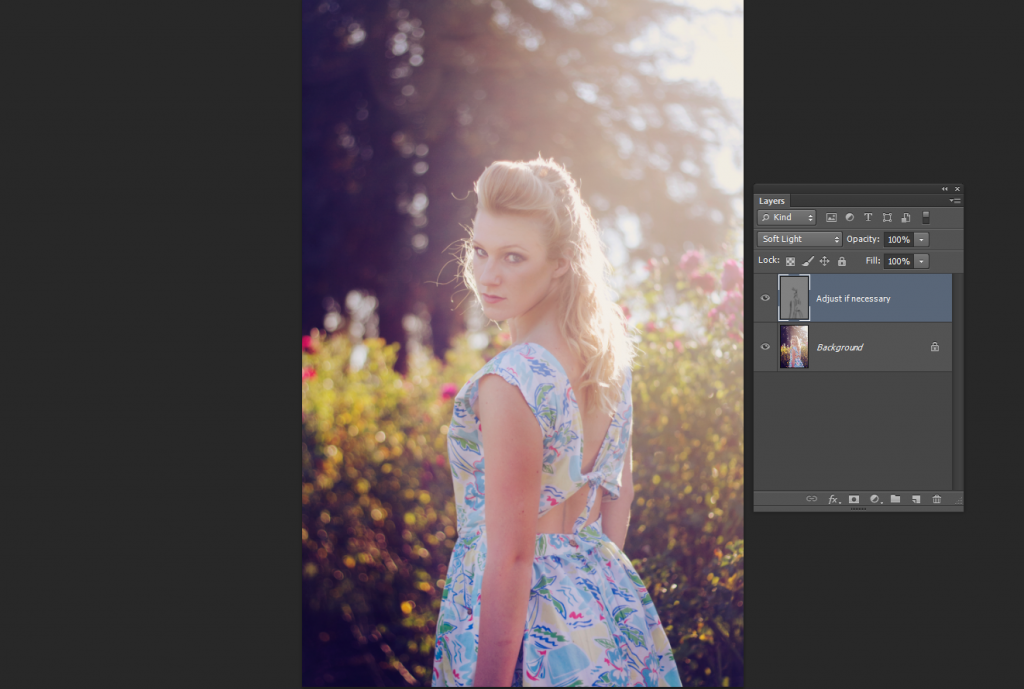
Press ALT & New Layer. Choose Mode: Soft Light and check Fill with soft-light netural color (50% gray)
Method 1:
Select the burn or dodge tool and make sure your exposure is 10-30%. Your brush size will vary depending on what you are contouring/highlighting.
Method 2:
Select the brush tool and choose black (darken) or white (brighten). Lower the opacity of the brush to 10-30%.
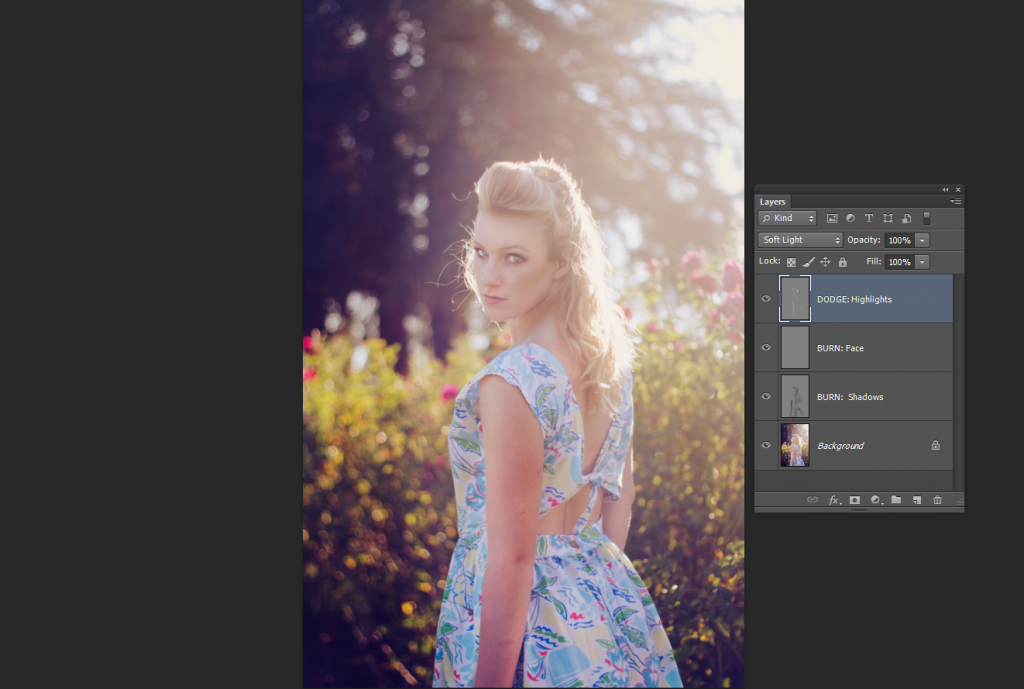
What should you contour? Do anything that you want to pop! I contour the cheeks, eyeliner, brows, shadows and sometimes the edge for a light vignette. I also do this to make hair more defined.
I make addionital contour layers for seperate things. For example: just the face, body, vignette, etc.
Lower the opacity of each layer if necessary. You can also choose one contour layer and go to Filter> Blur> Gaussian Blur to soften it! The higher the radius, the softer it will become.
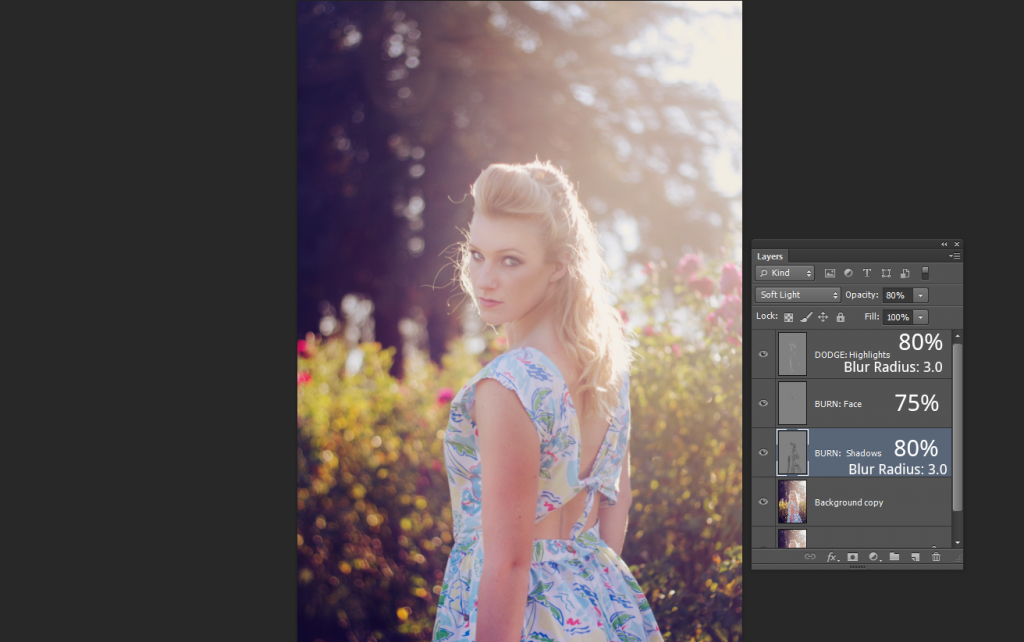
I choose my dodge layer to be 80% with a Gaussian blur at 3.0. One burn layer at 75% and the other at 80% with a Gaussian blur at 3.0.
Right click and duplicate your background layer. Click on the top contour layer, press SHIFT & choose your background copy to select it all. Right click and merge layers. You can toggle back and forth to your original to see if it's too intense. You can lower the opacity there too.
I merged all the layers and lowered it down to 75%.

I turned this into an action for you!


Post a Comment